Form Builder - Building a Form Using a Template
 Updated
by
Niki Budd
Updated
by
Niki Budd
How to Build a Custom Form Using a Pre-Existing Template - 2.0
Video Tutorial:
Step-By-Step Tutorial:
- Navigate to the document tab

- Select Forms

- Select Add

- Select an available template

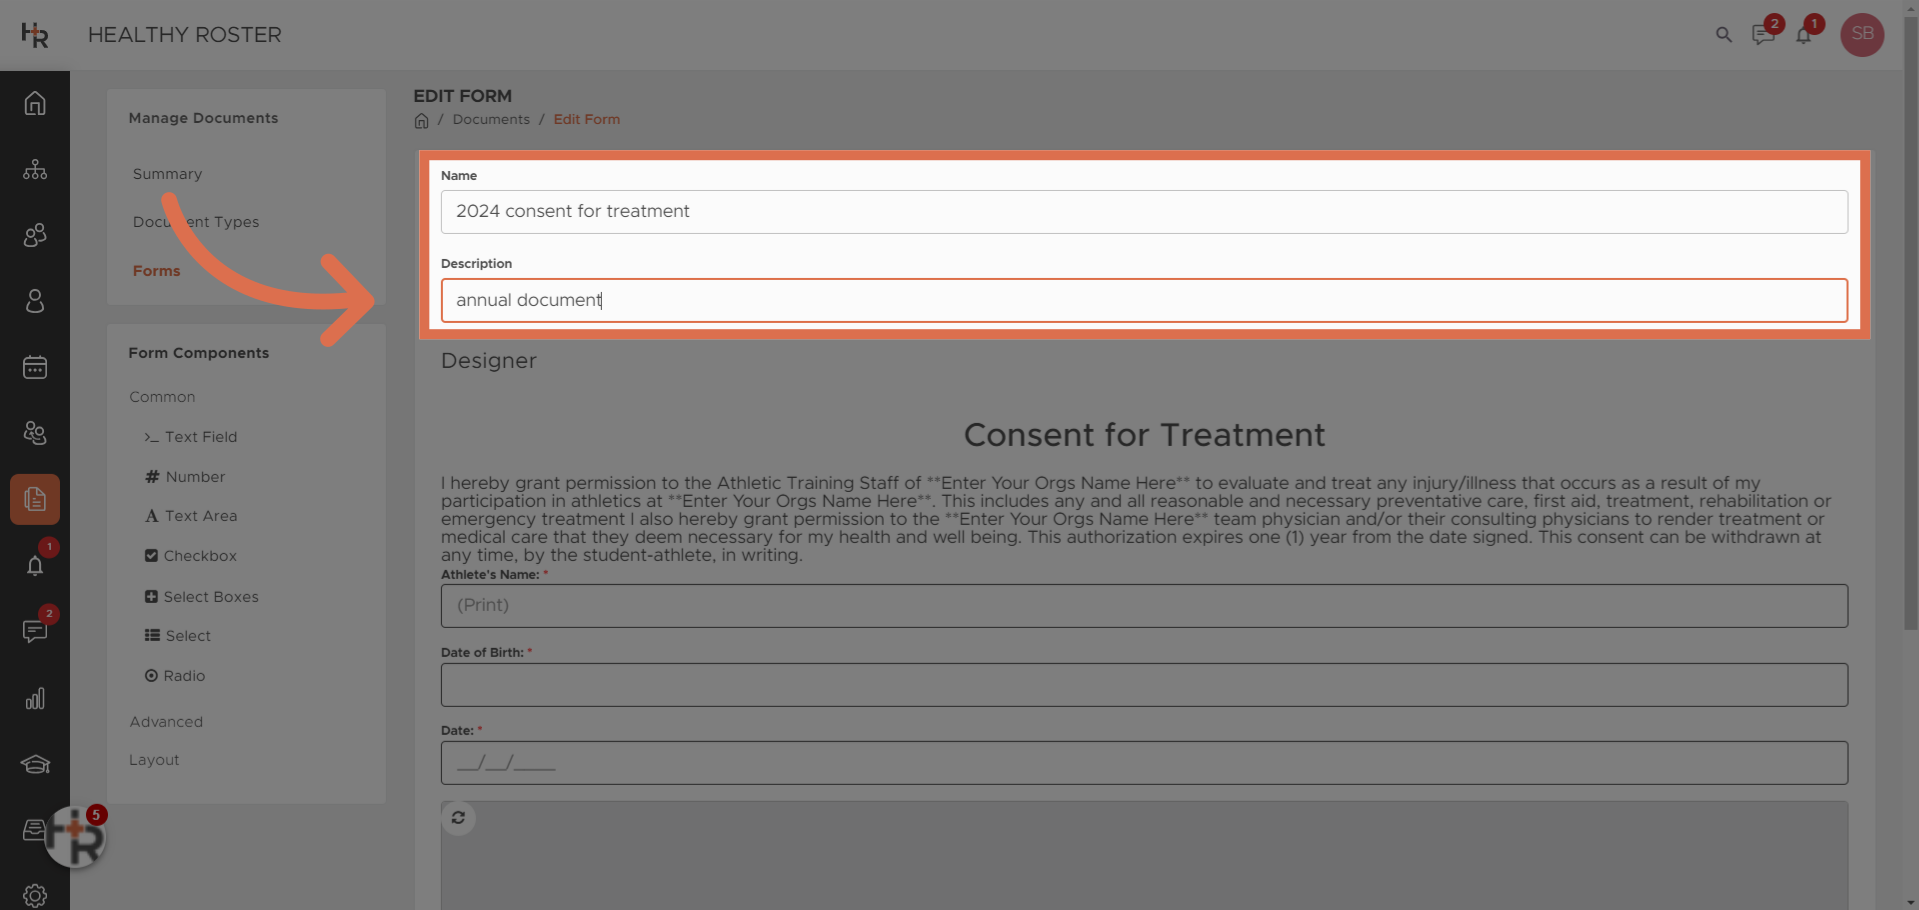
- Provide your form with a name and description.
- Next, you will want to review what has already been created in the template and make alterations as necessary.
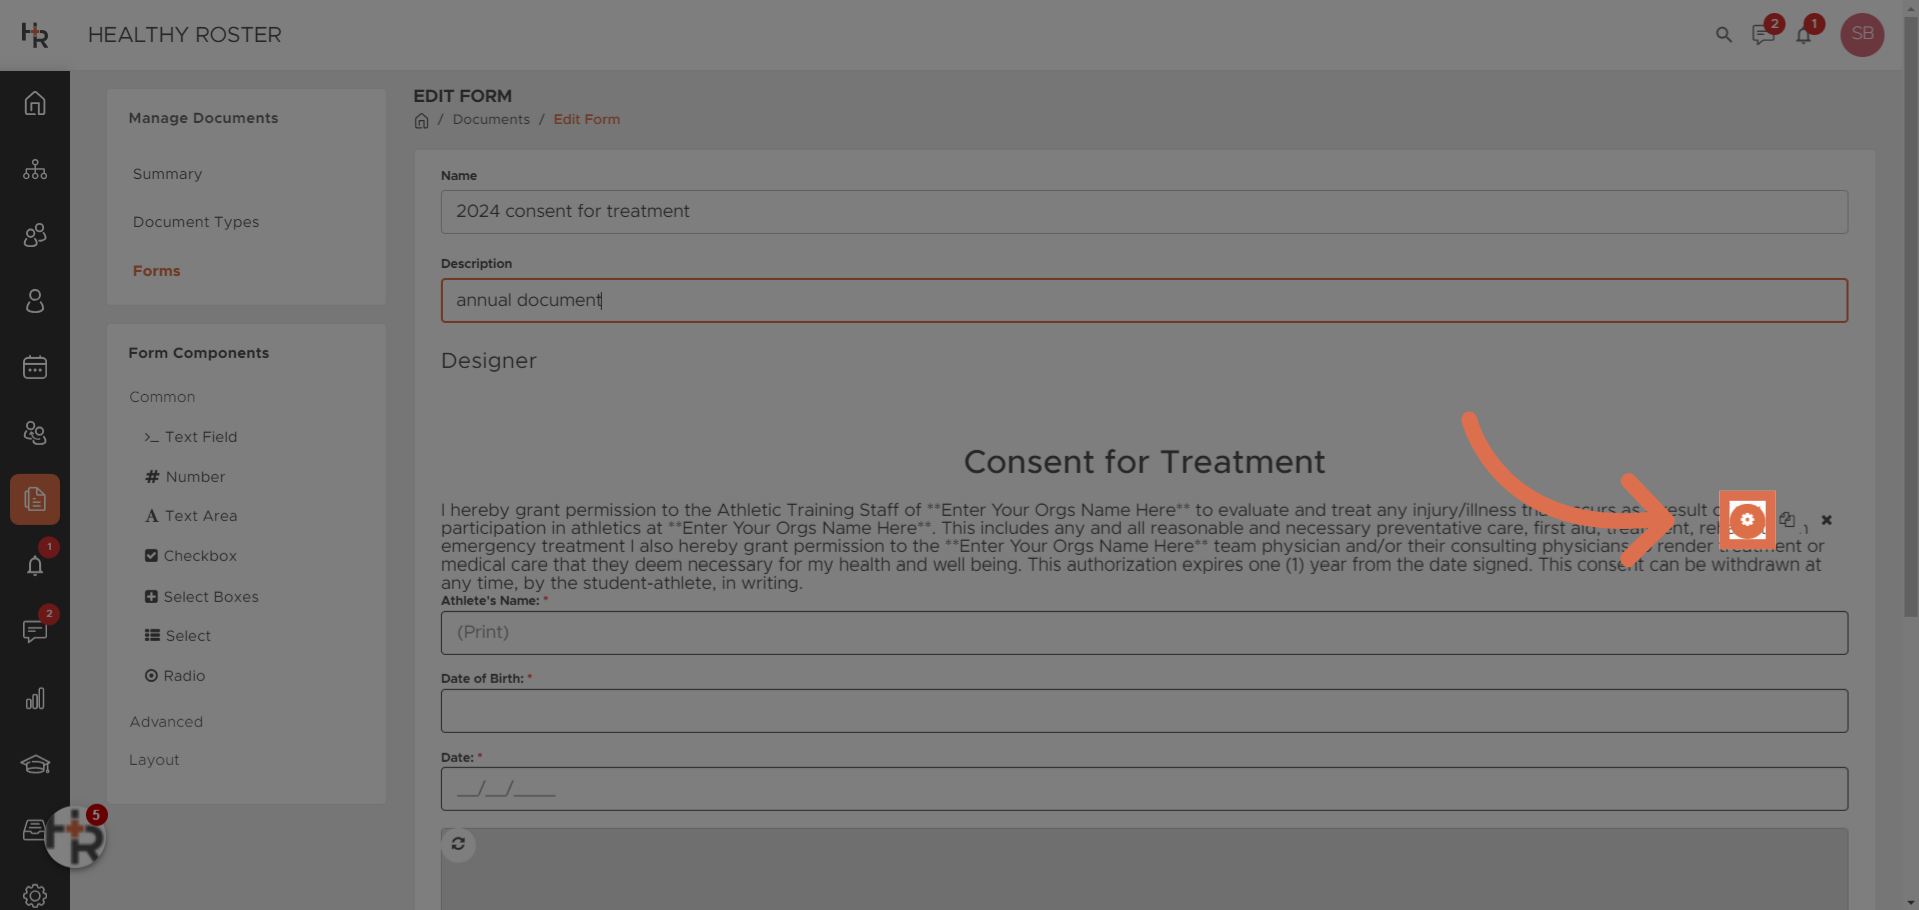
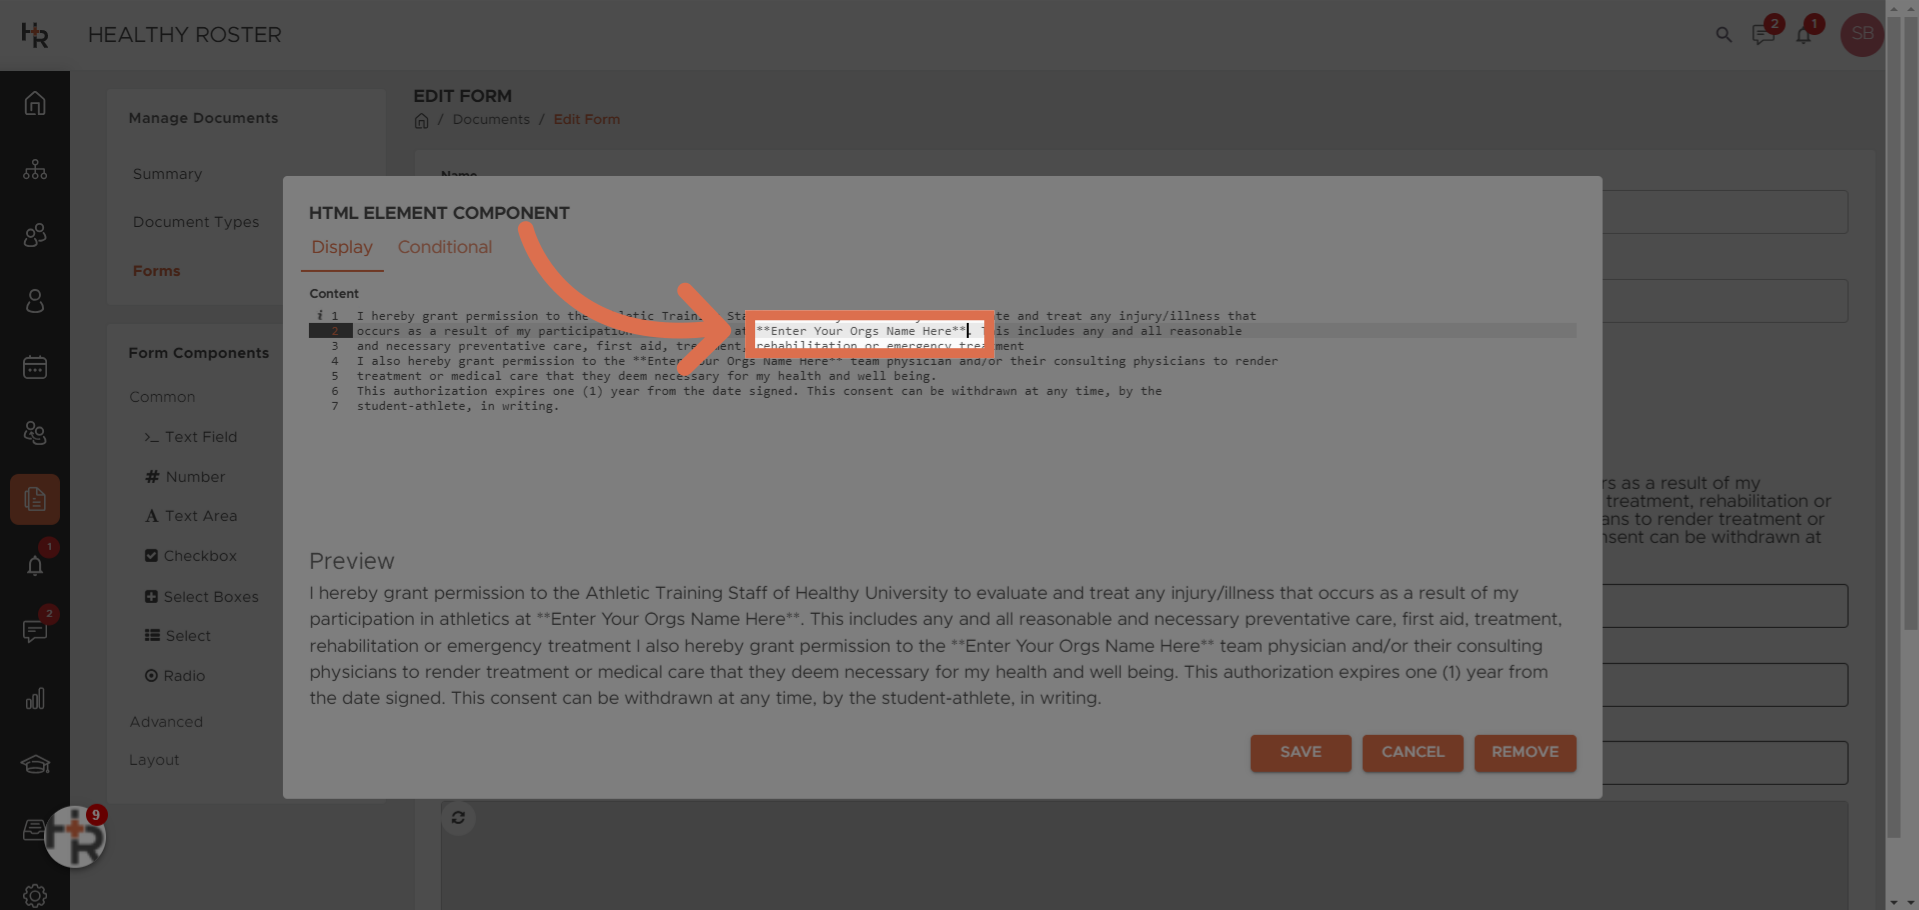
- On all templates, you will want to search and find **Enter Orgs Name Here** to your Organization name. To edit the text select the small edit button in the top left corner of the desired field and edit the text appropriately. Select Save.
- Select Save to save adjustments
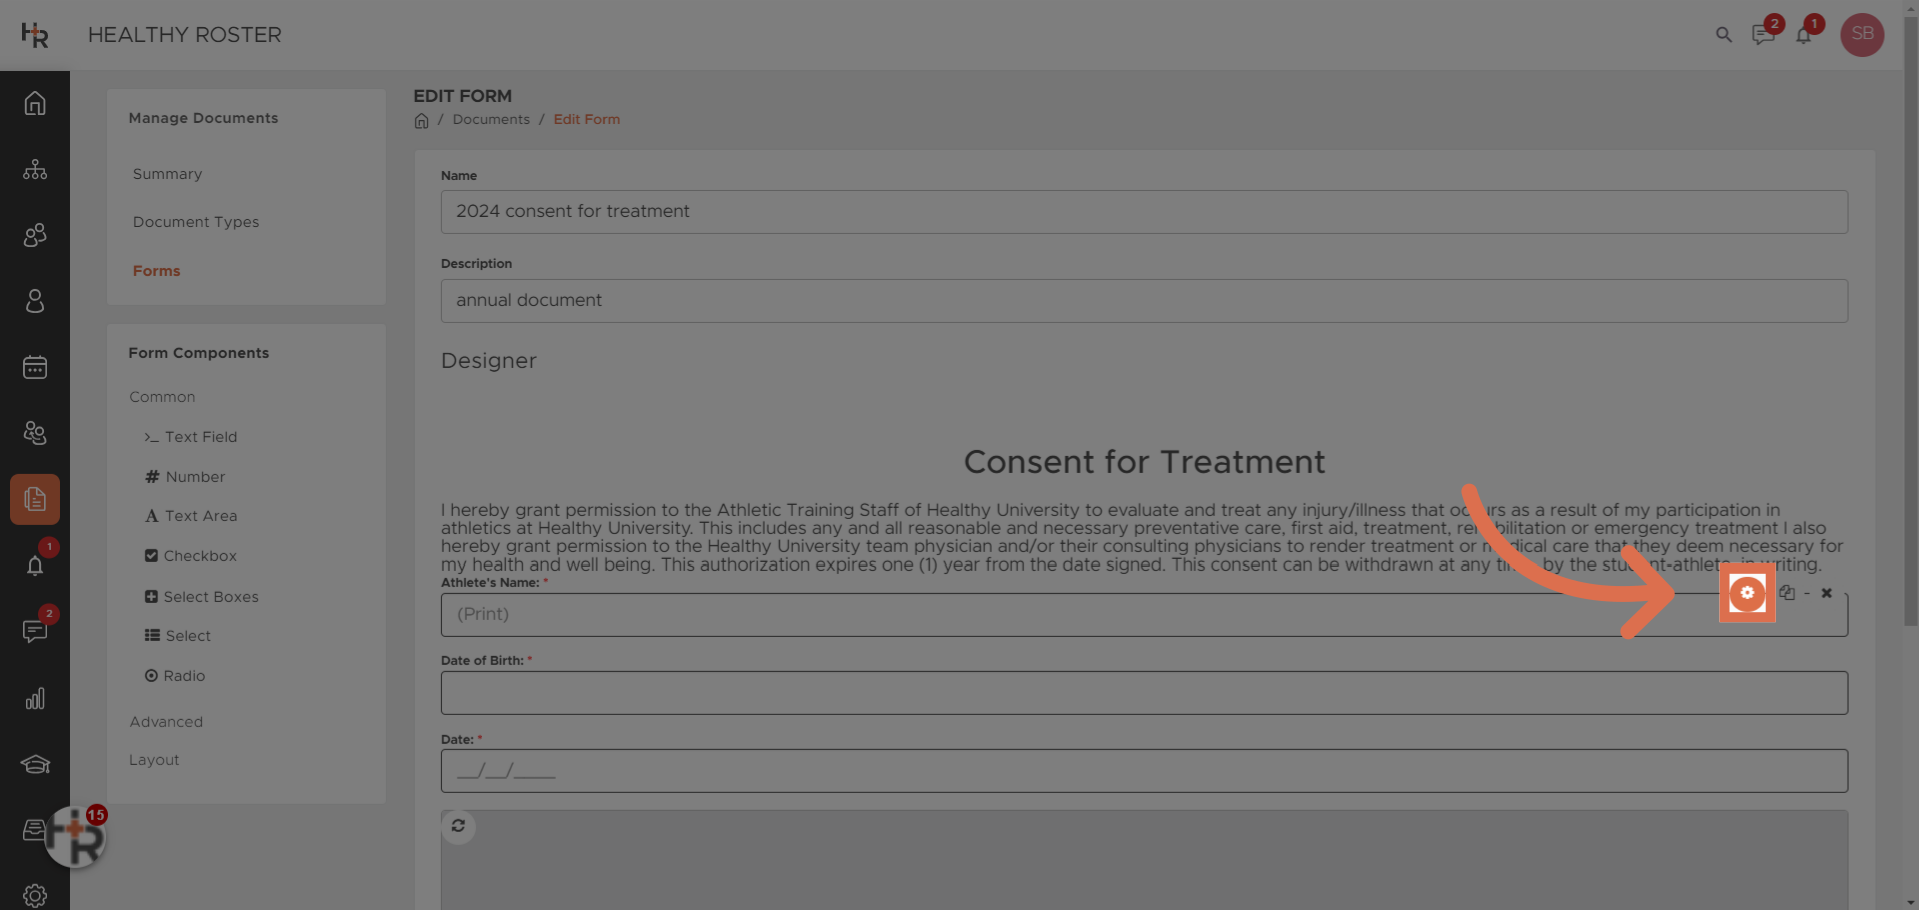
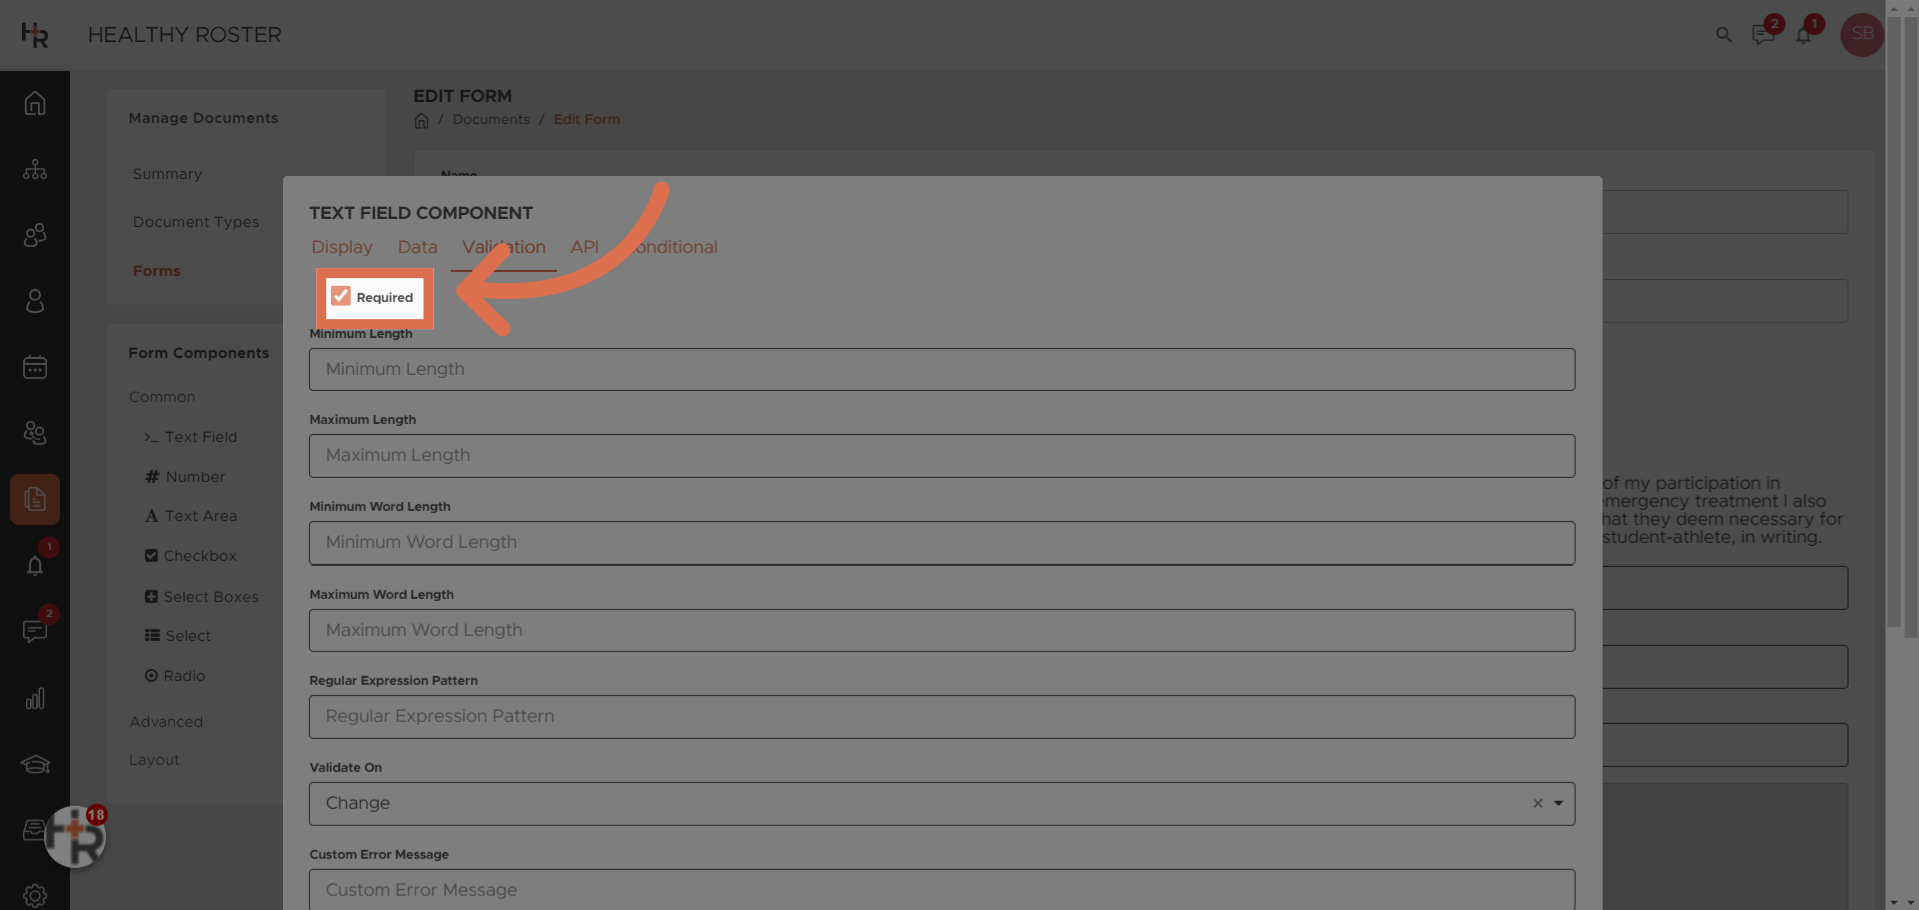
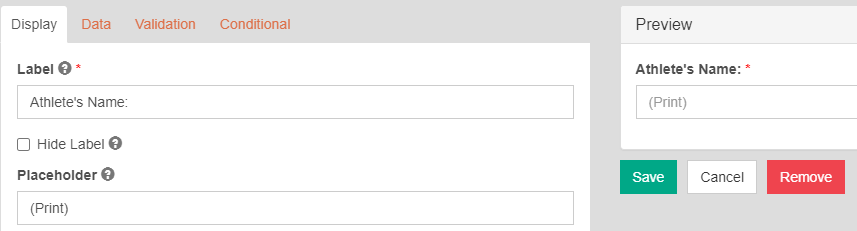
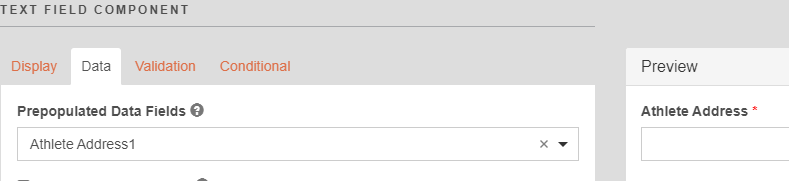
- When you see a red asterisk next to a prepopulated field, that will denote required information. To review/edit select the small edit button in the top left corner of the desired field, you will want to review Display, Data, and Validation prior to selecting Save.
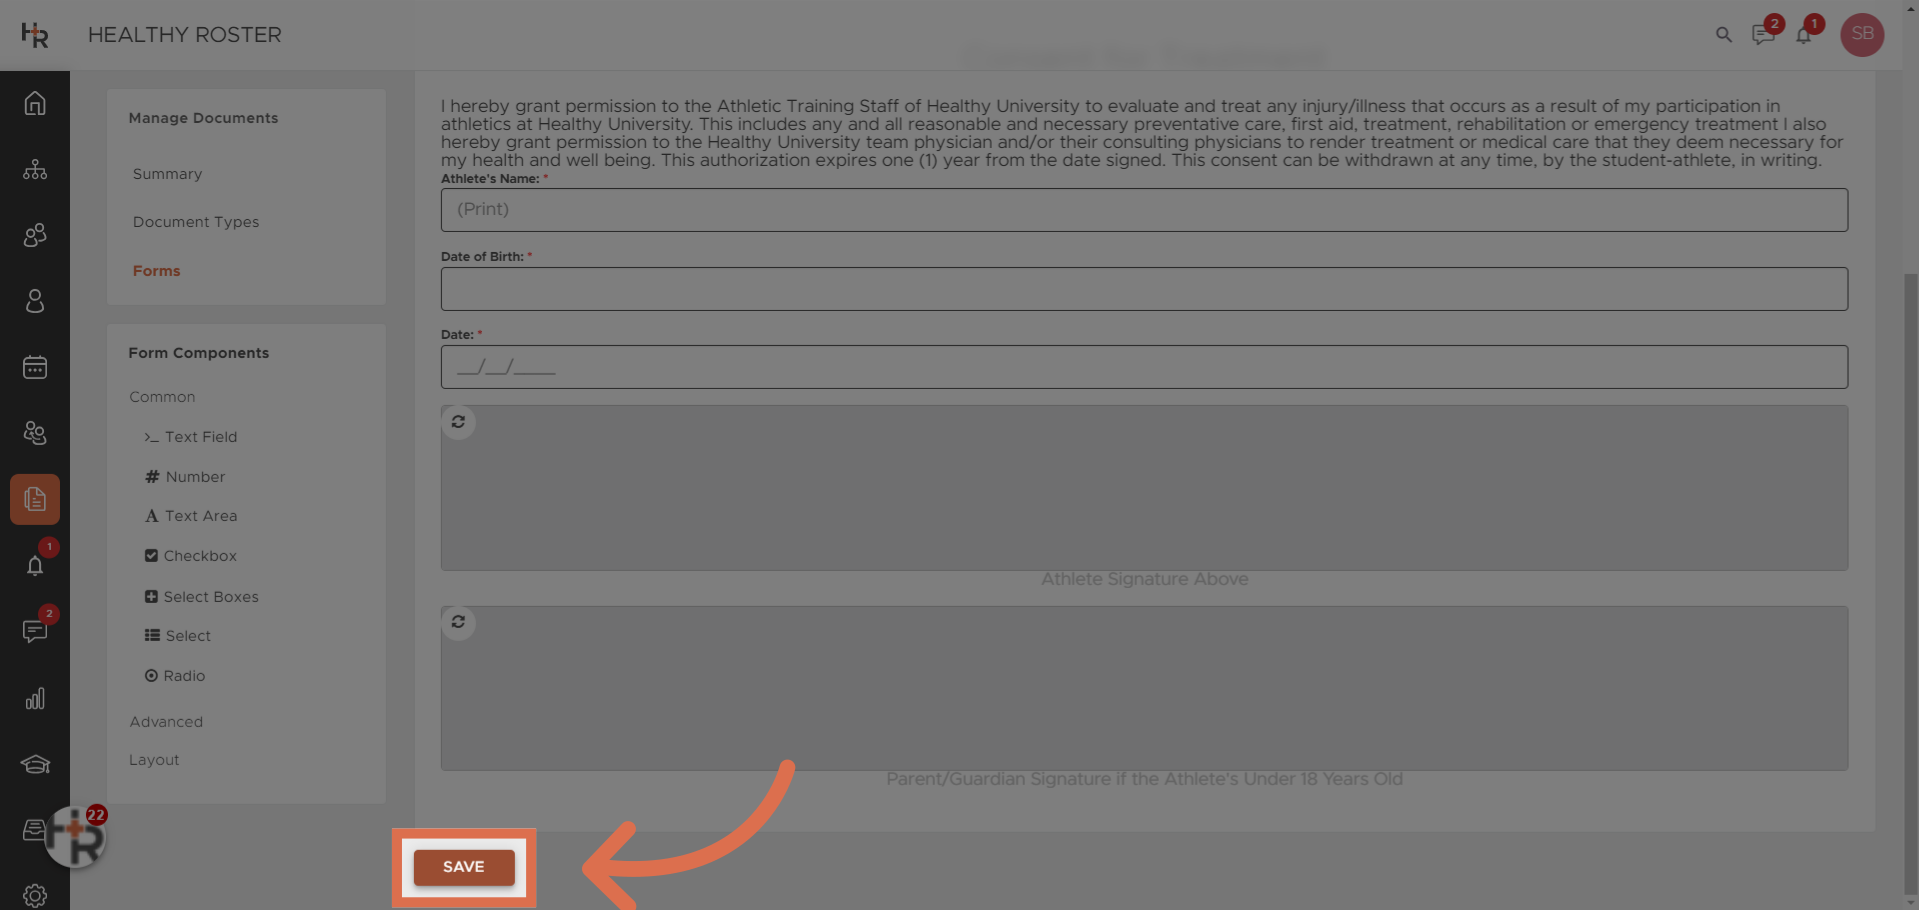
- Select Save

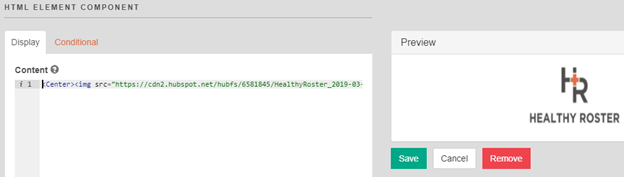
- To add a logo to the document you will need to select from the toolbar: Advanced

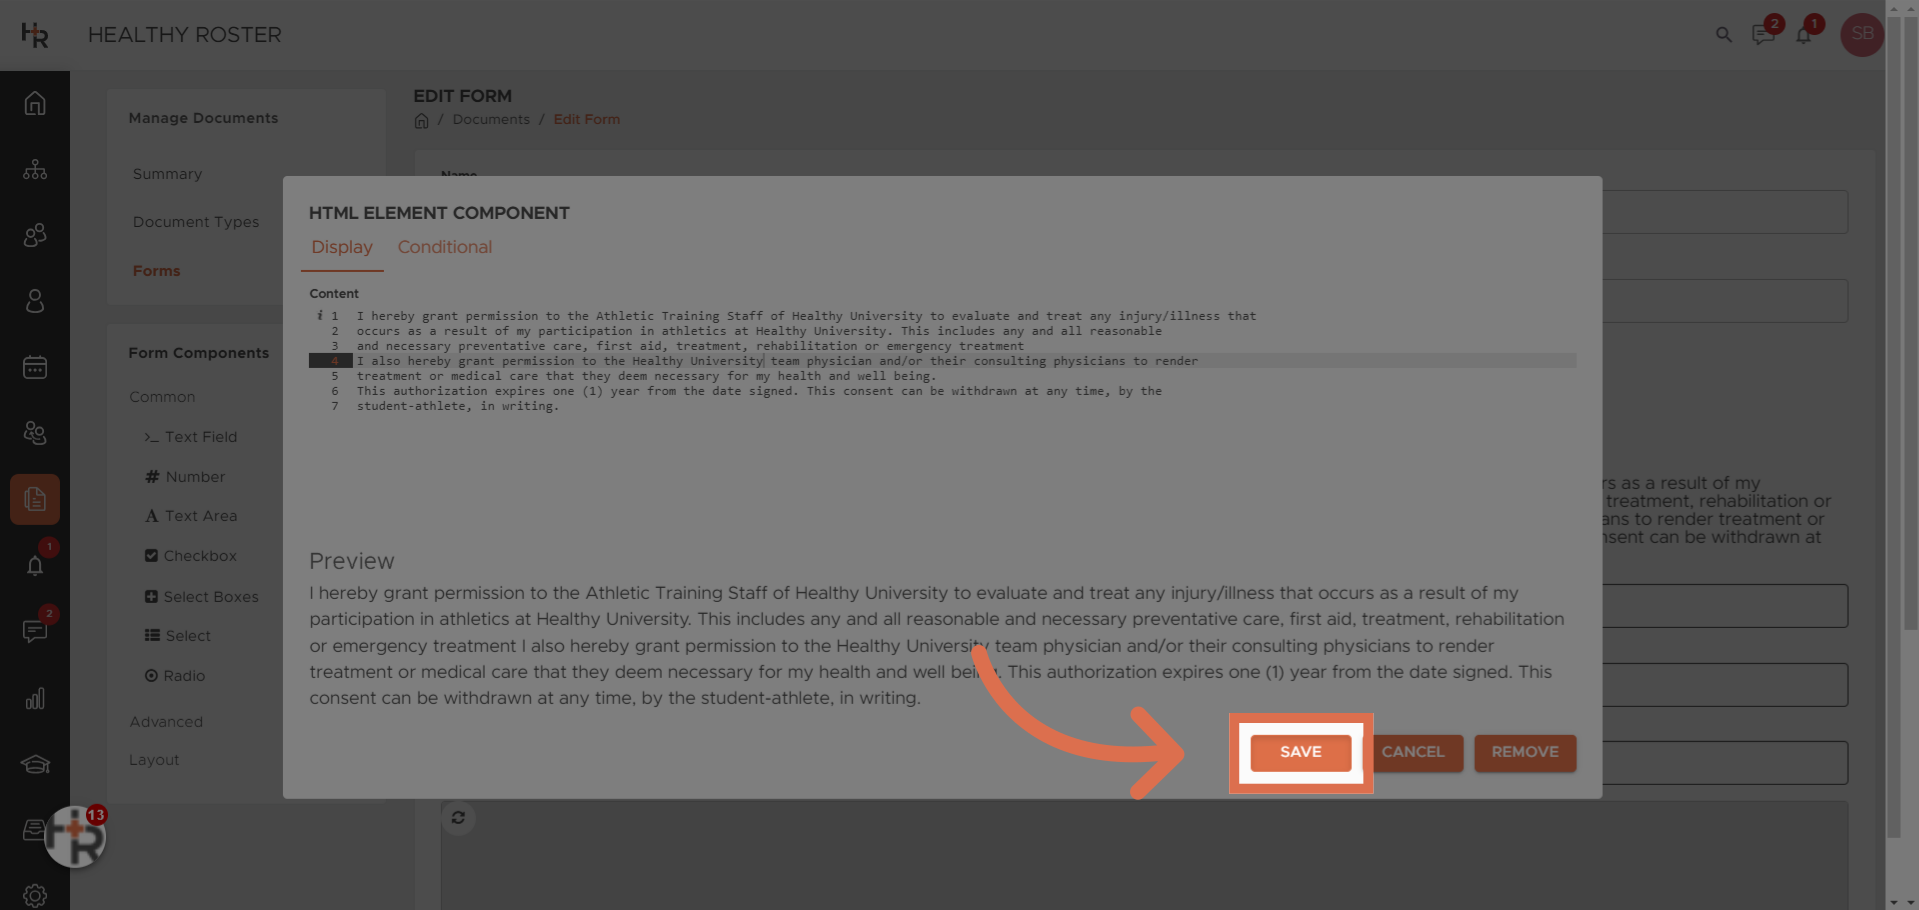
- Drag and drop Formatted Content to the desired location. Input the HTML code into the content box and select Save.Use this HTML set up for your image link: <center><img src="ENTER IMAGE LINK HERE" alt="Trulli" width="200" height="150"></center>
 How to get the Image Link: Internet search your logo, right click, select : Copy Image Address, paste it into the link above.Adjust the width and height of your image to get the best image
 - Save your form once complete
How to Build a Custom Form Using a Pre-Existing Template - Legacy
Video Tutorial
Step-By-Step Tutorial
- Log in to your Healthy Roster webpage, navigate to the Document's tab
- Next under the category "FORMS" select "Create New Form"
- You are now given the option to create a form from scratch or use one of our pre-existing templates to build off of. We have three categories of templates. You will note a description of the contents of the template is listed below the title of the template. Select the template you wish to use.

- Next, you will want to review what has already been created in the template and make alterations as necessary. First to review and edit will be the Form Name.
At any time you can drag and drop the content to a new location

- On all templates, you will want to search and find **Enter Orgs Name Here** to your Organization name. To edit the text select the small edit button in the top left corner of the desired field and edit the text appropriately. Select Save.

- When you see a red asterisk next to a prepopulated field, that will denote required information. To review/edit select the small edit button in the top left corner of the desired field, you will want to review Display, Data, and Validation prior to selecting Save.
- To add a logo to the document you will need to select from the toolbar: Advanced, and drag and drop Formatted Content to the desired location. Input the HTML code into the content box and select Save.
Use this HTML set up for your image link: <center><img src="ENTER IMAGE LINK HERE" alt="Trulli" width="200" height="150"></center>
How to get the Image Link: Internet search your logo, right click, select : Copy Image Address, paste it into the link above.
Adjust the width and height of your image to get the best image
- To add in a text field, drag and drop the Basic Component of Text Field to the desired location. Input the Label of the Text Field, the Prepopulated Data Field if desired, and mark as required or not prior to selecting Save.
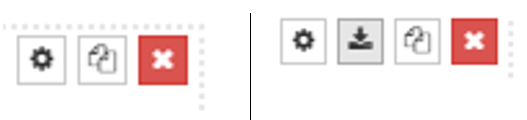
- To copy and paste a field for sake of time and continuity hover over the desired field and select the middle icon of folded paper, this will then populate a new icon to the left of the paper that you will select to paste. Once you pasted, you can drag and drop the content to the desired location and edit the contents.
- To add a text component for the end-user to read select Formatted Content and input your desired text in the content box. Select Save.

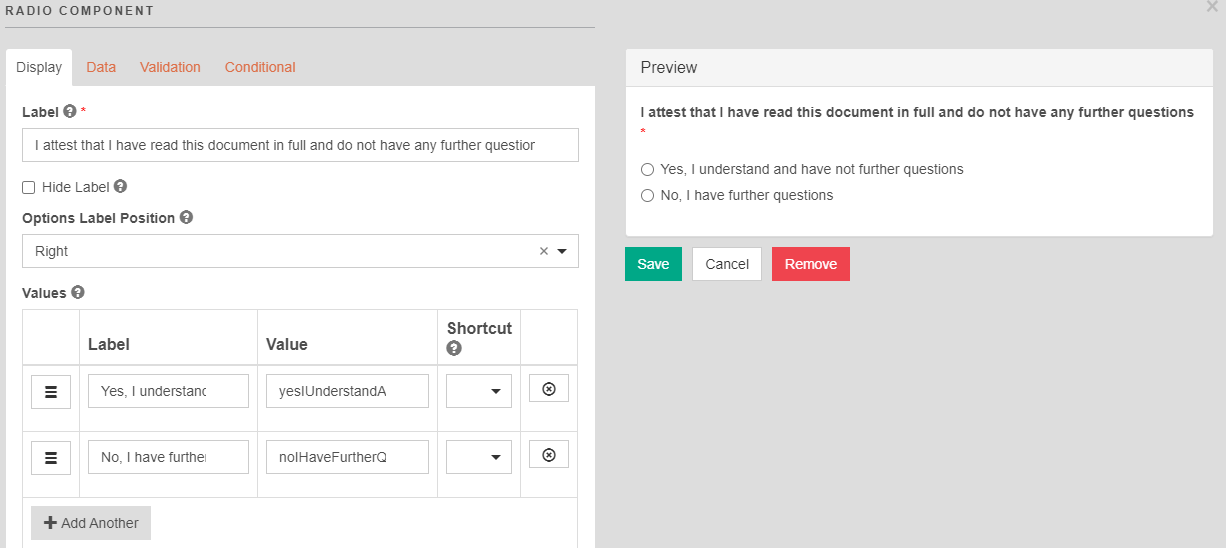
- To add a selection option, use a Radio. Here I will need to input the Label (question), and my Values (Yes, No), as well as select the validation. Then select Save.
If you are planning to add a conditional (a box that would populate depending on the end-user's selection you will need to take note of the exact dictation in the label value for which you want the conditional to populate
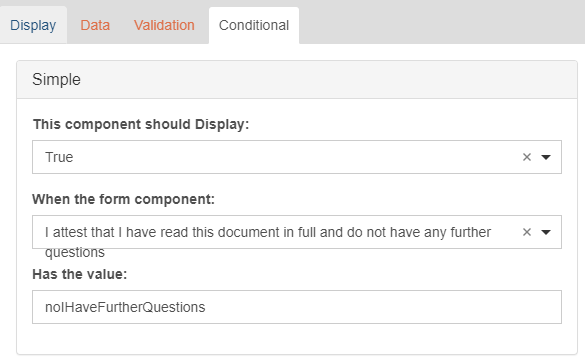
- To place a conditional text field of my previously created Radio Component, I will drag and drop a Text Field Component to the desired location. Once you have set the parameters for Display, Data, and Validation you will then select Conditional.
- For a conditional to populate off a selection you will need to set "the component should Display: to True, When the form component: Question we are setting the conditional to, Has the value: insert value exactly as it was for the answer as it was in the initial question. Once you have saved, the end-user will only see the conditional component should they select the response you have set.
- For a conditional to populate off a selection you will need to set "the component should Display: to True, When the form component: Question we are setting the conditional to, Has the value: insert value exactly as it was for the answer as it was in the initial question. Once you have saved, the end-user will only see the conditional component should they select the response you have set.
- To insert a signature you will drag and drop from the toolbar the Signature. Once set you will edit the parameters prior to selecting Save.
Signatures for the custom form builder cannot be sent for additional signatures. Therefore, if you are requesting multiple signatures on a document we'd recommend ensuring that all parties are present while the document is being completed.
Signatures on this form builder cannot be set as Required. Therefore, If you are placing signatures on your document it is essential when creating your document type to select "Require review and approval after upload" to ensure a signed document. Follow this HelpDoc to assign a Document Type.

- Once you have completed your Form select "Save Form", your form will now be populated under the Recent forms section on the documents tab