Adding Problems & Incident Reports
 Updated
by
Niki Budd
Updated
by
Niki Budd
Adding Problems & Incident Reports: Web - 2.0
Please Note: Terminology is different based on your setting, for example, a clinical setting uses Care Group as Organizations, Patient instead of Athlete, and Visits instead of Treatment, lastly Problems instead of Injuries, but the steps are still the same.
Web Video Tutorial:
Step-By-Step Tutorial (Web) - Patient Tab
- Navigate to the patient profile
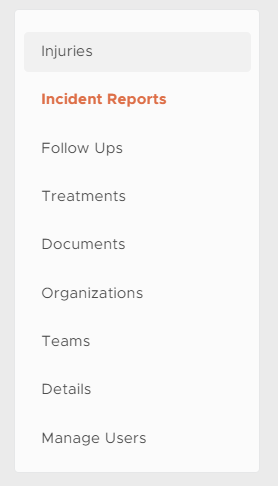
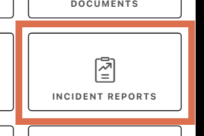
- Click incident Reports
- Select Add

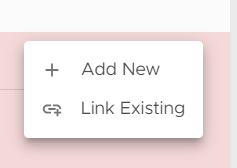
- Associate the injury by selecting to Add New or Link an Existing by selecting the + icon


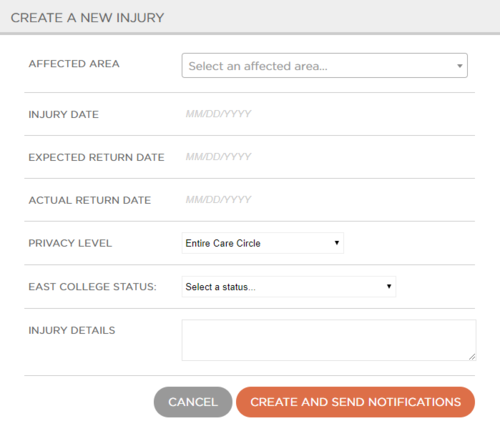
- If creating a new problem, enter the problem details and select the status for the problem
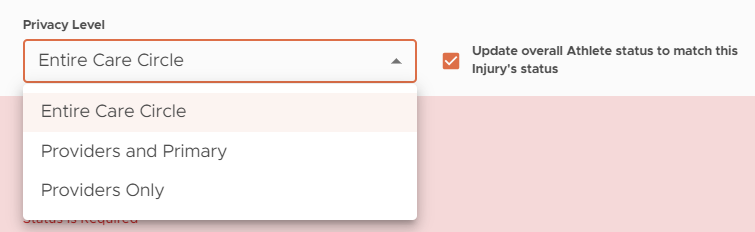
- Problem Privacy Level:
- Entire Care Circle: Everyone who has access to the patient such as coaches, AD, the patient (or their legal guardians if they’re under 18), and ATs will all be able to see the injury
- Providers and Primary Users Only: If the injury is of a sensitive nature and you would like for only ATs, docs, and the patient or patients legal guardian to see the injury
- Providers Only: If you only want healthcare providers such as ATs and docs to be able to view that injury
- If the box is checked, the status of the injury will remain the status that was set on injury creation
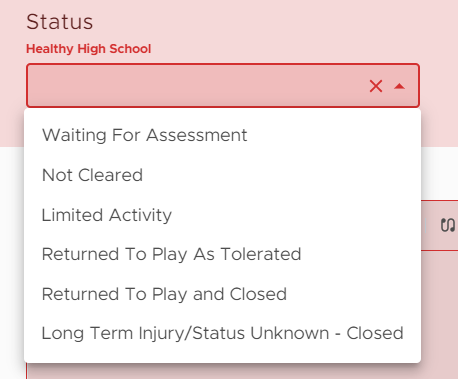
- Problem Status:
- You have multiple status options to choose. It is important to note that “Return to Play and Closed” will remove the patient from your Patient Status list, but selecting “Return to Play as Tolerated” will keep that patient in your patient status list for easy reference if you are still treating that patient and keeping an eye on their injury.
- You have multiple status options to choose. It is important to note that “Return to Play and Closed” will remove the patient from your Patient Status list, but selecting “Return to Play as Tolerated” will keep that patient in your patient status list for easy reference if you are still treating that patient and keeping an eye on their injury.
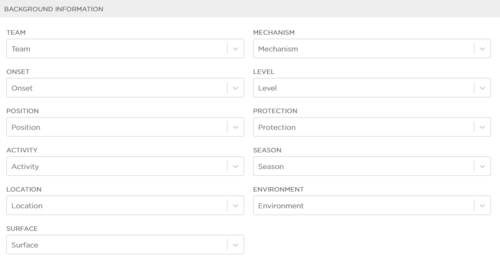
- Complete the Background information

- Add notes by selecting the + icon

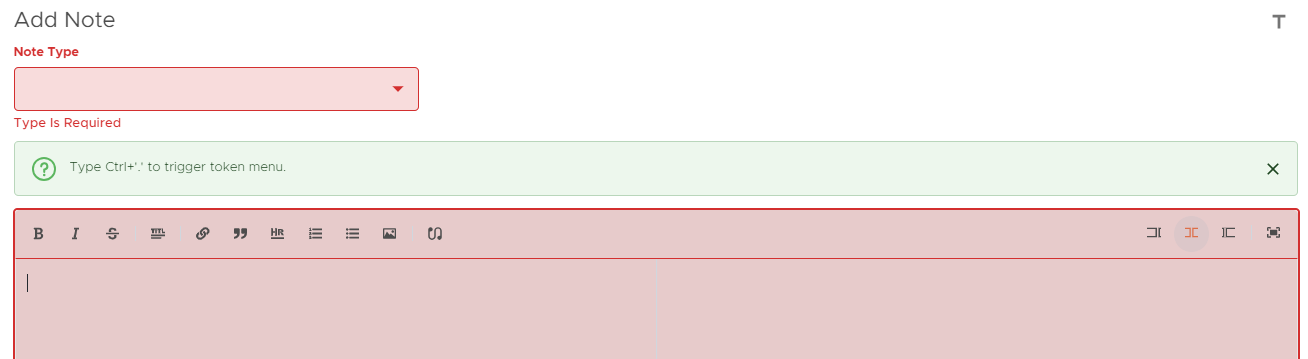
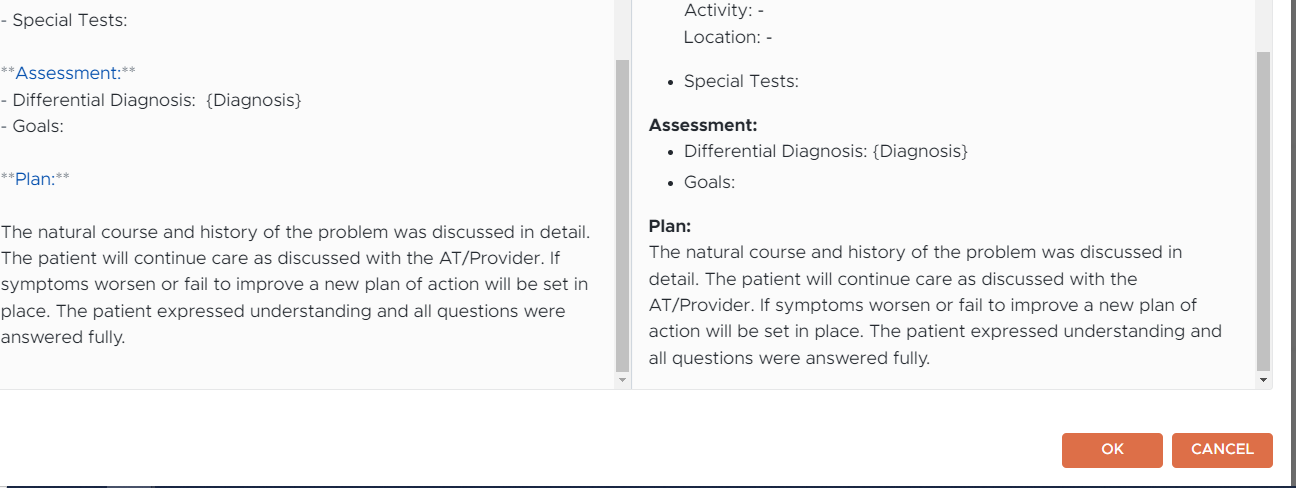
- Create note by selecting the type of note and typing or inserting a template for your note
- Once the note is complete, select OK
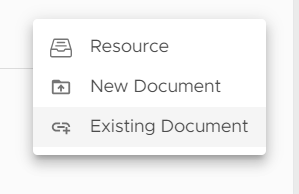
- If adding an attachment, select the + and choose your attachment type

- Once complete, select Save

Step-By-Step Tutorial (Web) - Global Search
- Type the patient's name in the global search

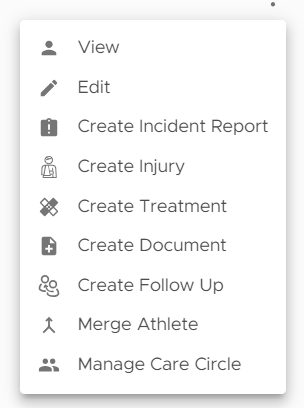
- Select the three dots to the right of the patient's name

- Select Create Incident Report
- Associate the problem by selecting to Add New or Link an Existing by selecting the + icon
- If creating a new problem, enter the injury details and select the status for the injury
- Problem Privacy Level:
- Entire Care Circle: Everyone who has access to the patient, such as coaches, AD, the patient (or their legal guardians if they’re under 18), and ATs will all be able to see the injury
- Providers and Primary Users Only: If the injury is of a sensitive nature and you would like for only ATs, docs, and the patient or patient's legal guardian to see the injury
- Providers Only: If you only want healthcare providers such as ATs and docs to be able to view that injury
- If the box is checked, the status of the injury will remain the status that was set on injury creation
- Problem Status:
- You have multiple status options to choose. It is important to note that “Return to Play and Closed” will remove the patient from your Patient Status list, but selecting “Return to Play as Tolerated” will keep that patient in your patient status list for easy reference if you are still treating that patient and keeping an eye on their injury.
- You have multiple status options to choose. It is important to note that “Return to Play and Closed” will remove the patient from your Patient Status list, but selecting “Return to Play as Tolerated” will keep that patient in your patient status list for easy reference if you are still treating that patient and keeping an eye on their injury.
- Complete the Background information
- Add notes by selecting the + icon
- Create note by selecting the type of note and typing or inserting a template for your note
- Once the note is complete, select OK
- If adding an attachment select the + and chose your attachment type
- Once complete select Save
Step-By-Step Tutorial (Web) - Problem Timeline
- Navigate to the patient's specific problem timeline
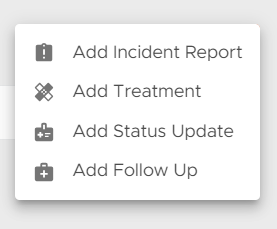
- Select Add

- Select Add Incident Report
- Since you've selected to add an Incident Report from the problem timeline, the associated problem will carry over into the incident report.

- Complete the Background information
- Add notes by selecting the + icon
- Create note by selecting the type of note and typing or inserting a template for your note
- Once the note is complete, select OK
- If adding an attachment select the + and chose your attachment type
- Once complete select Save

Adding Problems & Incident Reports: App - 2.0
Video Tutorial:
Step-By-Step Tutorial:
- From the patient profile select Incident Reports
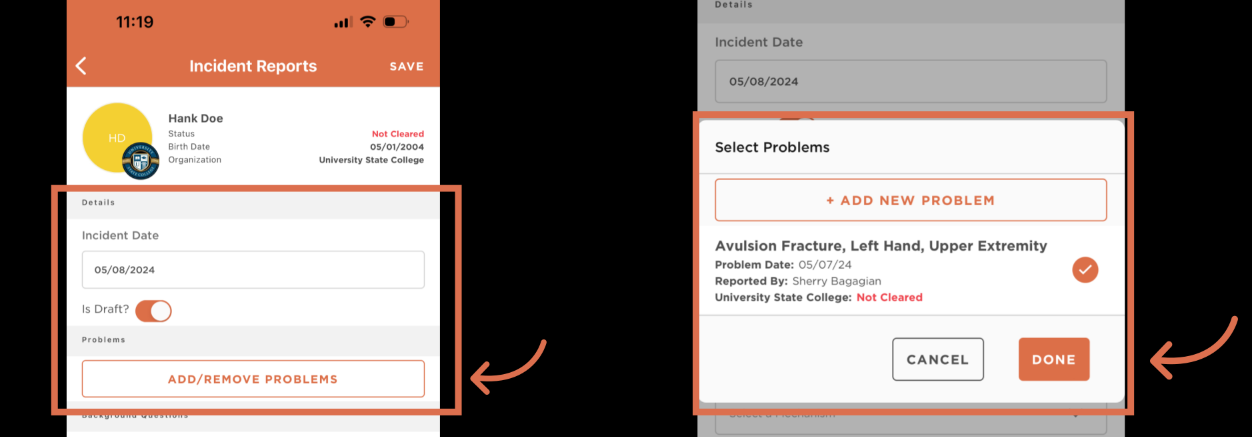
- Select + to add a new incident report

- Input the incident date and toggle on/off (orange/grey) to save as a draft. Select add/remove problem to associate a problem. You are able to create the problem at this time or associate an existing.
- Answer any background questions

- To add a note select Add Note

- Select your note type

- If you'd like to use a template select the template icon and input your desired template
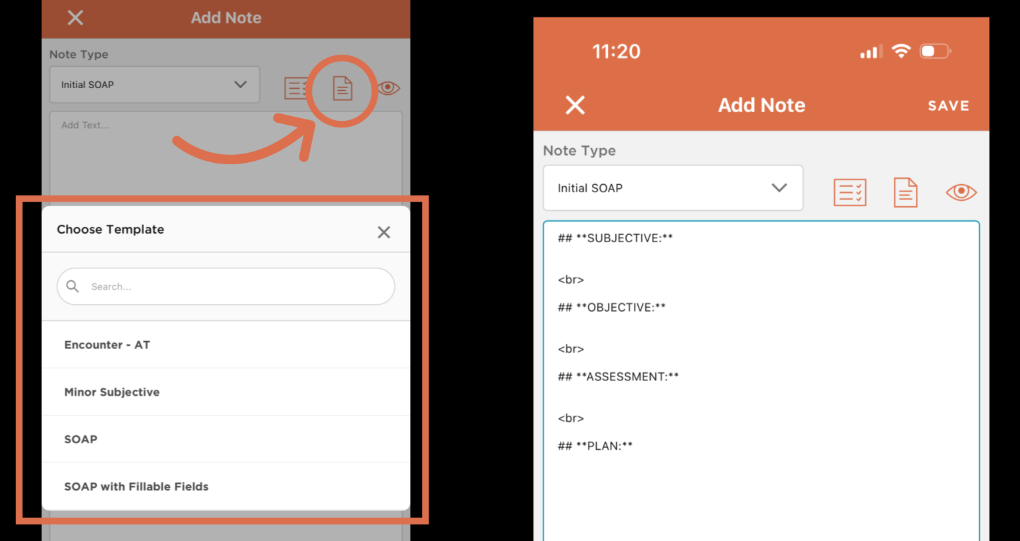 Note: if you know the quick phrase, you are also able to type the phrase in to populate the template
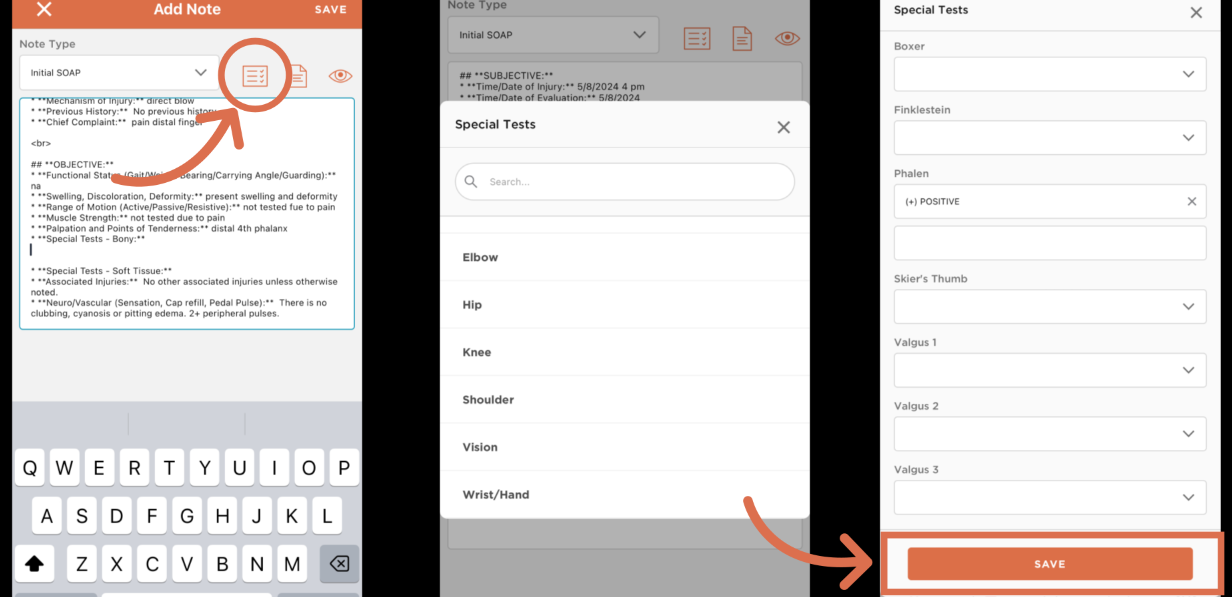
 - To insert special tests, select the special test icon. Next select the body part, and input test results as necessary
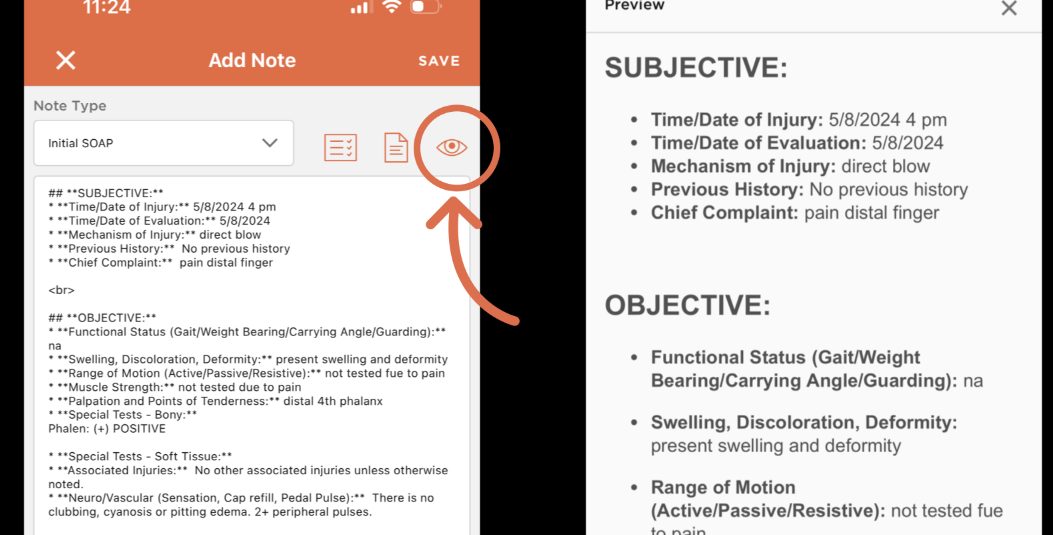
- To preview your note select the preview icon
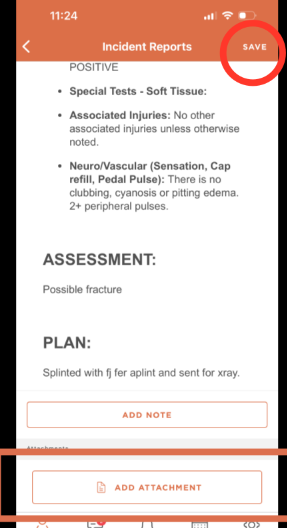
- Add additional information such as attachments as necessary. Select Save to save.
Adding Injuries& Incident Reports: Web & App - Legacy
Please Note: Terminology is different based on your setting, for example, a clinical setting uses Care Group as Organizations, Patient instead of Athlete, and Visits instead of Treatment, lastly Problems instead of Injuries, but the steps are still the same.
Web Video Tutorial:
Web Step-By-Step Tutorial:
- Log in to Healthy Roster, and locate the athlete profile through the Global Search or through the Organizations tab
- Click the Incident Reports tab

- Select + Add Incident Report

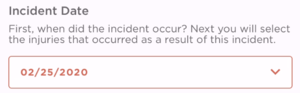
- Enter the incident report date.
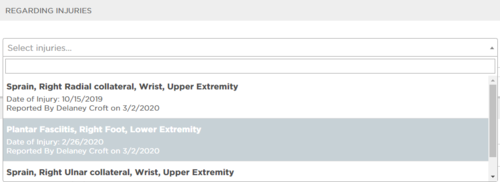
- Create New Injury from the incident report, or select an existing injury from the drop down menu

- Injury Privacy Level:
- Entire Care Circle: Everyone who has access to the athlete such as coaches, AD, the athlete (or their parents if they’re under 18), and ATs will all be able to see the injury
- Providers and Primary Users Only: If the injury is of a sensitive nature and you would like for only ATs, docs, and the athlete or athlete’s parent to see the injury
- Providers Only: If you only want healthcare providers such as ATs and docs to be able to view that injury
- Injury Status:
- You have multiple status options to choose. It is important to note that “Return to Play and Closed” will remove the athlete from your Athlete Status list, but selecting “Return to Play as Tolerated” will keep that athlete in your athlete status list for easy reference if you are still treating that athlete and keeping an eye on their injury.
- Injury Privacy Level:
- Complete the Background information
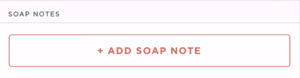
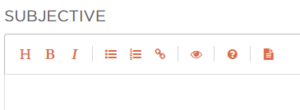
- Fill out the SOAP notes section

- Click on Save Incident Report

App Step-By-Step Tutorial:
- Log in to your Healthy Roster app, locate and select the athlete

- Select Incident Reports within the athlete profile

- Select the plus sign in the upper right-hand corner

- Add the incident date
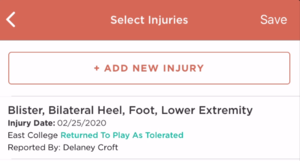
- Select an Injury from the current injury list, or create an injury by selecting Add New Injury
- Add SOAP note, then select Save