Creating a Problem
 Updated
by
Niki Budd
Updated
by
Niki Budd
Creating a Problem (Web) - 2.0
Please Note: Terminology is different based on your setting; for example, Occ Health uses Employer Locations as Organizations, Patient instead of Athlete, and Encounters instead of Treatments; lastly, Problems instead of Injuries, but the steps are still the same.
Video Tutorial:
Step-By-Step Tutorial:
- Open the Global Search

- Type in your patient's name and select "search" or key in "enter."

- Select Create Problem

- Enter the problem details

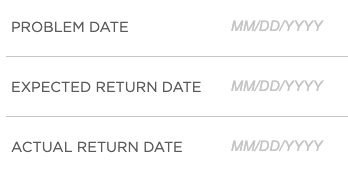
- Select the problem date

- Select the privacy level for the problem
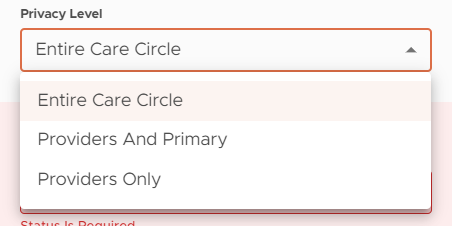
- Problem Privacy Level:
- Entire Care Circle: Everyone who has access to the patient such as coaches, AD, the patient (or their parents if they’re under 18), and ATs will all be able to see the problem
- Providers and Primary Users Only: If the problem is of a sensitive nature and you would like for only ATs, docs, and the patient or patient's legal guardian's to see the problem
- Providers Only: If you only want healthcare providers such as ATs and docs to be able to view the problem
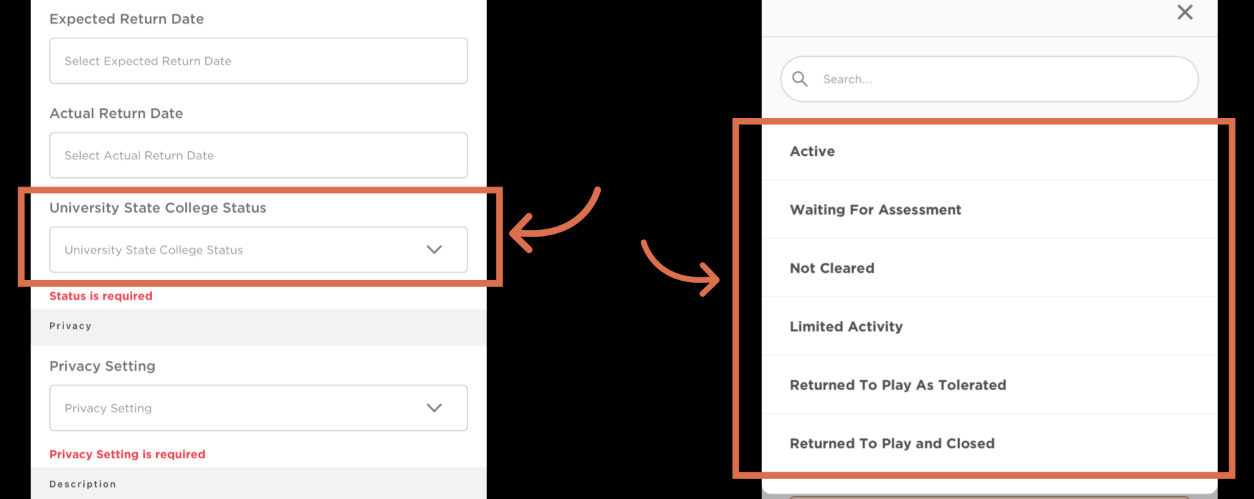
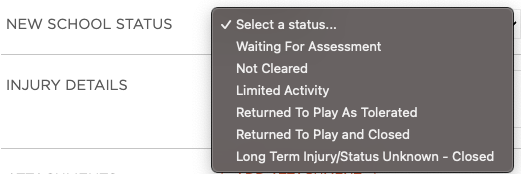
- Select the Status

- Problem Status:
- You have multiple status options to choose from. It is important to note that “Return to Play and Closed” will remove the patient from your Patient Status list, but selecting “Return to Play as Tolerated” will keep that patient in your patient status list for easy reference if you are still treating that patient and keeping an eye on their problem.
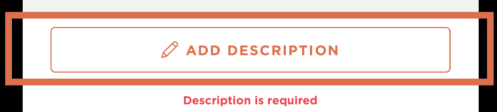
- Enter a description of the problem

- Select Save

Creating a Problem - 2.0 (App)
Video Tutorial:
Step-By-Step Tutorial:
- From the patient profile select Add New Problem

- Input the necessary problem details
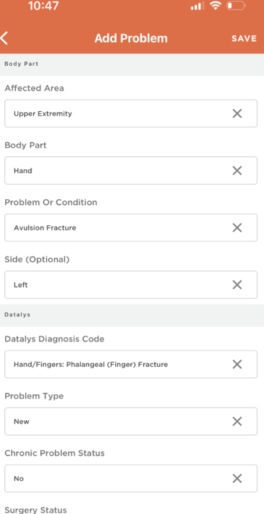
- Set the status for this problem
- Problem Status:
- You have multiple status options to choose from. It is important to note that “Return to Play and Closed” will remove the patient from your Patient Status list, but selecting “Return to Play as Tolerated” will keep that patient in your patient status list for easy reference if you are still treating that patient and keeping an eye on their problem.
- Problem Status:
- Next set the privacy level of this problem
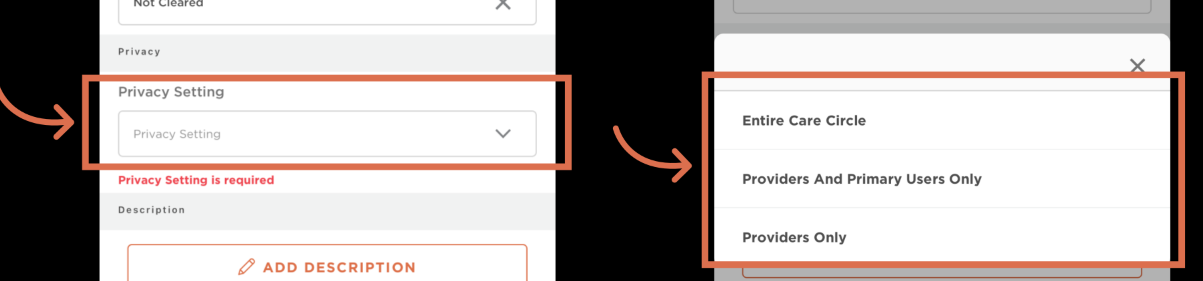
- Problem Privacy Level:
- Entire Care Circle: Everyone who has access to the patient such as coaches, AD, the patient (or their parents if they’re under 18), and ATs will all be able to see the problem
- Providers and Primary Users Only: If the problem is of a sensitive nature and you would like for only ATs, docs, and the patient or patient's legal guardian's to see the problem
- Providers Only: If you only want healthcare providers such as ATs and docs to be able to view the problem
- Problem Privacy Level:
- Input a description
- Continue to detail your problem, select save to save

Creating a Problem (Web)
Please Note: Terminology is different based on your setting; for example, Occ Health uses Employer Locations as Organizations, Patient instead of Athlete, and Encounters instead of Treatments; lastly, Problems instead of Injuries, but the steps are still the same.
Step-By-Step Tutorial:
- Log in to Healthy Roster, and locate the athlete profile through the Global Search or through the Organizations tab
- Click + Report a New Problem

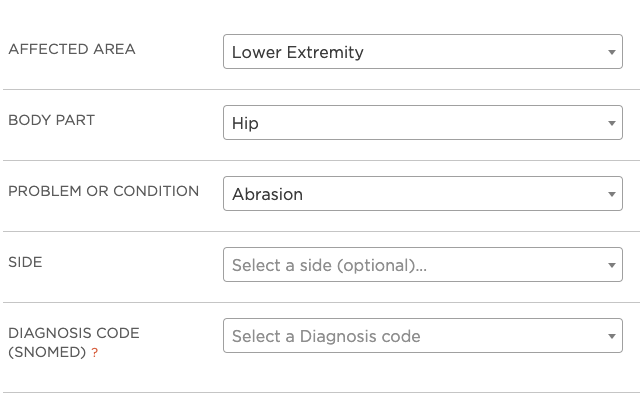
- Choose the affected area, body part, problem/condition, side, and diagnosis code in the dropdowns.
- Enter the Problem Date
- Enter the injury privacy sharing level.

- Injury Privacy Level:
- Entire Care Circle: Everyone who has access to the athlete such as coaches, AD, the athlete (or their parents if they’re under 18), and ATs will all be able to see the injury
- Providers and Primary Users Only: If the injury is of a sensitive nature and you would like for only ATs, docs, and the athlete or athlete’s parent to see the injury
- Providers Only: If you only want healthcare providers such as ATs and docs to be able to view that injury
- Injury Privacy Level:
- Add the injury status.
- Injury Status:
- You have multiple status options to choose. It is important to note that “Return to Play and Closed” will remove the athlete from your Athlete Status list, but selecting “Return to Play as Tolerated” will keep that athlete in your athlete status list for easy reference if you are still treating that athlete and keeping an eye on their injury.
- Add any injury details you wish to share or any attachments associated with the problem.
- Save Problem