This tutorial will detail the suggested self-scheduling flow for a provider user.
Video Tutorial - Start to Finish:
Step One -Video Tutorial -Creating a New Calendar and Assigning it to Organizations:
00:00: Hi this is Nikki from healthy roster and this tutorial is going to teach you about self-scheduling both creating a new calendar and assigning it to the organizations as a note this feature is available only to admin provider users Now by creating a new calendar and assigning it to the organization the admin provider user is tying the assigned providers to that calendar once the calendar is created and available to the organizations the provider users are then able to set their availability let's go through the setup process
00:31: To begin select the admin tab
00:34: Now select self-scheduling
00:37: Next select manage calendars
00:40: This page will allow you the ability to add edit or remove calendars to add a new we're going to select add
00:48: On the general tab for the ad calendar modal you will now input a name for your calendar this name is used for internal use only
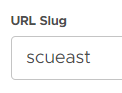
00:57: Next input your desired URL slug this slug will sit at the end of the full URL for your schedule
01:05: Next you will see the full URL for your schedule with your slug at the very end if you'd like to copy this URL you can do so by selecting the copy button
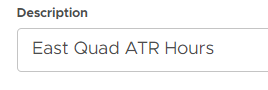
01:15: Next input a description for your calendar this description is for internal use
01:21: Now input your welcome message this message will show as a greeting to the patient
01:26: Now input a scheduling complete message this message will appear after the patient has completed registration for their appointment
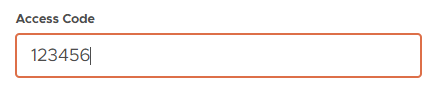
01:34: Now input and access code this code is intended to prevent those from outside of the organization from being able to schedule on the provider's calendars this is not active yet however we will initiate it before too long as a note this access code should be something that is unique and not easily guessed
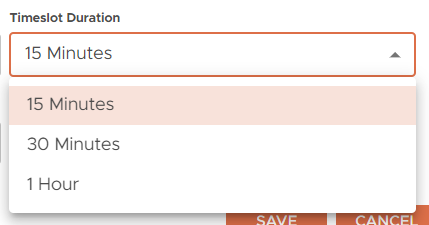
01:53: Now select the time slot duration or the length of the appointment 15 30 minutes and one hour are your options
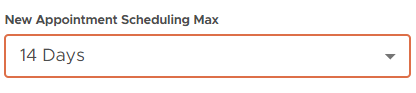
02:01: Now select the new appointment schedule Max this determines how many days in advance and appointment is able to be scheduled you can select from seven days 14 days or 30 days
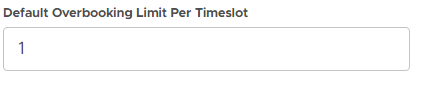
02:13: Now input a number 1 to 10 for your default overbooking limit per time slot this will determine how many appointments can be done per provider per time slot note when the provider sets are availability on their own they are able to override this
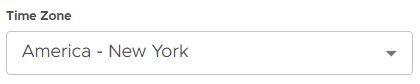
02:29: Next select the time zone in which the calendar is relevant for
02:34: Now set the default start and end time for this calendar
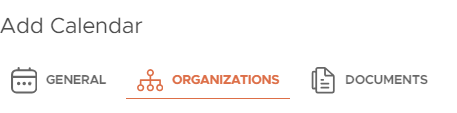
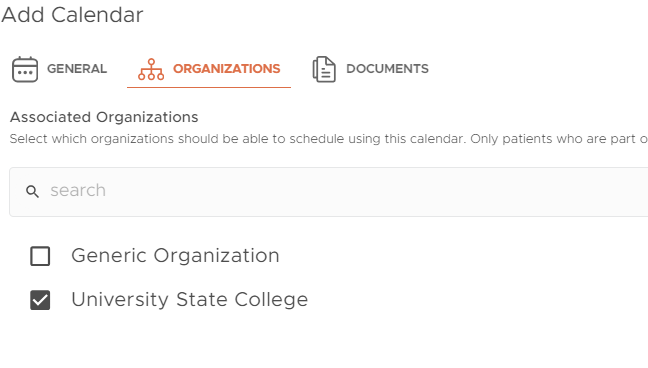
02:38: Now that you've created the parameters for the default calendar you will need to assign it to organizations select organizations
02:46: All of the organizations within your account will now show check the box for those that you'd like this calendar to apply to
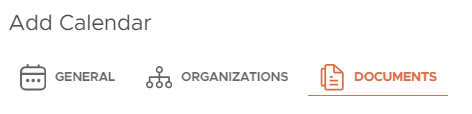
02:53: If you'd like the patient to complete a document with registration of their appointment select the document tab
03:00: You will see all of the document types that you've assigned for your account are now showing here check the box for the documents you'd like to assign for appointment registration
03:09: Now that your default calendar is set you will select save
03:14: If you have questions or need more help please visit the help tab on the left navigation or reach us directly at help@healthyroster.com
Step One -Step-By-Step Tutorial -Creating a New Calendar and Assigning it to Organizations
Select the admin tab
Select Self Scheduling
Select Manage Calendars
Select Add
Input a Name for internal use
Type in your desired URL Slug
One you've input your URL Slug the next box will show you the Full URL, you can use the copy icon to copy your URL for use
Now input a description for your calendar, this description is for internal use
Input a Welcome Message; this message will show as a greeting for the patient.
Input a Scheduling Complete Message. This message will appear after the patient has completed registration for an appointment.
Note: once an appointment is scheduled, the provider user and patient will receive an email
Input an access code. The access code is intended to prevent those outside your organization from being able to schedule on your calendar.
Note: this is not active yet
Next, select the Timeslot Duration or length of the appointment
Select the New Appointment Scheduling Max; this determines how many days in advance an appointment can be scheduled. You can select from 7 Days, 14 Days, or 30 Days
Input a number (1-10) for your Default Overbooking Limit Per Timeslot. This determines how many appointments can be done per provider, per timeslot.
Note: when a provider sets their availability, they can override this
Set your calendar time zone
Set the Start Time and End Time of your calendar
Scroll to the top of your modal page and select Organizations
Check the box for the Organizations you wish to assign to this Calendar.
Lastly, if you wish to assign documents to the appointment you can select Documents
Select the document(s) that you want patients to complete before completing their appointment registration. This document has to be assigned to the organization that the patient belongs to.
Select Save
Step Two -Video Tutorial -Setting Provider Availability:
00:00: Hi this is Nikki from healthy roster and this tutorial is going to walk you through setting up the provider availability for self scheduling once a calendar has been created all providers will need to set their availability independent from one another in order to show as available on the scheduling page 00:16: To begin select your account setting icon in the upper right hand corner 00:20: Now click on your profile to open your account settings 00:24: Next select availability 00:27: Now click on the availability dropdown here you will see all the calendars that are assigned to the organizations that you are assigned to as a provider in order for you to show as an available provider on the calendar for the patient you will need to set availability per calendar 00:45: To set your specific availability let's select a calendar 00:49: Once you've selected the calendar you will also see the full URL below you can select the copy button to copy and paste or share this URL externally 00:59: To add an availability time slot select the general area on the calendar 01:04: Now input the information for this time slot the start time end time and determine the overbooking limit the default calendar will determine the overbooking limit but you the provider can override that here select ok to add this availability to your calendar 01:21: Continue to repeat that process as necessary to complete your default availability for this calendar 01:27: Now add in any exceptions the options we have are for time off or additional time these exceptions are for instances where your schedule varies from the standard they are not to be considered as standing exceptions rather of one-off instances where you might be away from work or have extra free time to see more patients if necessary this does not warrant the need to change your general availability rather it's an exception 01:52: Here you will see an example of a time off exception I have a start date a start time and an end time select okay to add this exception 02:02: Here you will see an example of an additional time exception we still have the start date the start time the end time and now we're able to add in an overbooking limit select ok to add this exception 02:15: Once you've added your exceptions you will see them listed below you can edit or delete them as appropriate as a note once that time has passed on the exception it will no longer show on this View 02:26: Now that you've set your availability and your exceptions for this calendar you can select save this will now deploy them live to the scheduling link 02:35: If you have questions or need more help please visit the help tab on your left navigation or reach us directly at help@healthyroster.com
Step Two -Step-By-Step Tutorial- Step Two:Setting Provider Availability:
Select your account setting icon
Select your information to open account settings
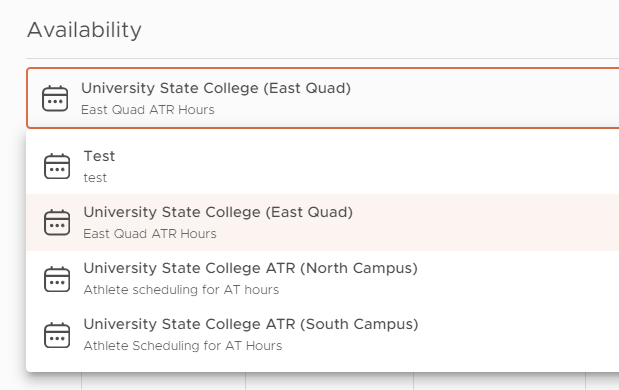
Select Availability
Select the Calendar you wish to set availability for
Once you've selected the calendar, you will see its URL below and can directly copy the link to share from this location
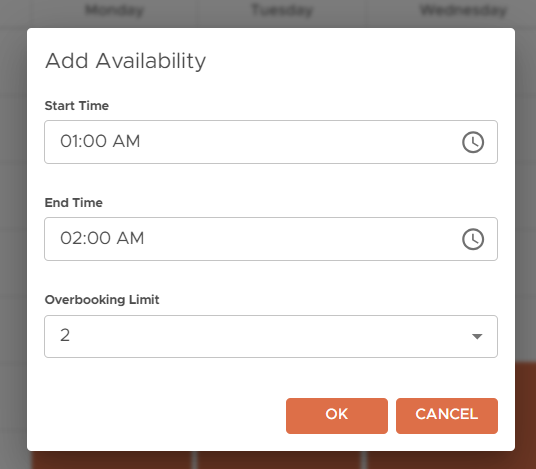
To add a timeslot, select the general area on the calendar
Add availability for this timeslot, select OK to add availability
Overbooking is set from the admin provider, if you wish to change the overbooking, your limit will override the calendar set up
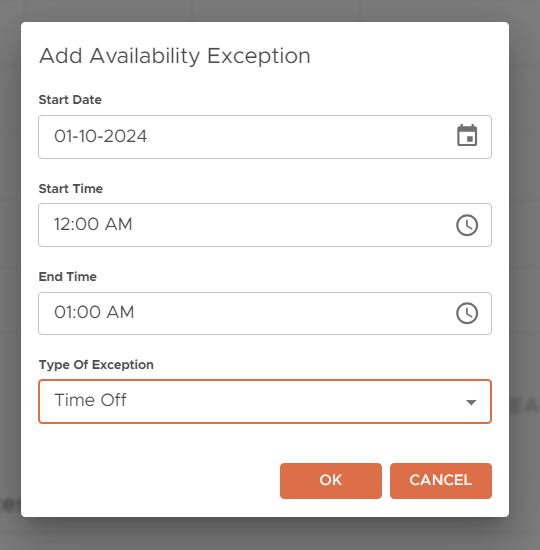
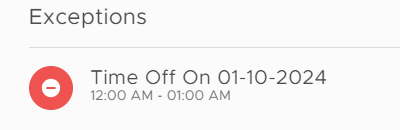
Add in any exceptions. Exceptions can be considered "Time Off" or "Additional Time" that varies from your normal schedule. Select OK to add your exception
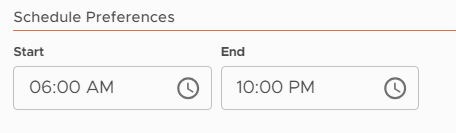
Set any schedule preferences; this allows the provider the ability to set the view of their own calendar
Select Save to save your availability
Step Three -Video Tutorial - How to Schedule an Appointment:
00:00: Hi this is Nikki from healthy roster and this tutorial will show you how to schedule an appointment from the patient perspective on self-scheduling 00:09: The patient will input their information on the scheduling homepage first name last name and date of birth is one option 00:16: The other option is the input a unique ID 00:20: No matter the route taken once our system matches information to the existing patient profile the patient will be alerted they will select continue to advance 00:29: You will now see a seven day listing of the schedule you can tab left or right to view different dates if the patient is scheduling an appointment in an organization where there is more than one provider but they want to schedule specifically with one provider select any available provider 00:46: This will open up a drop-down of all providers that are assigned and active on this calendar select the provider you wish to schedule with 00:55: Now select the desired time to schedule your appointment 00:58: Next confirm the desired time slot by selecting the provider's name 01:03: If there are requested documents to complete your registration you will select add complete each document as appropriate 01:11: Once your documents are complete select continue 01:15: Lastly input your email address to deliver a confirmation of your scheduled appointment 01:21: Select finish and schedule 01:24: You will now see a confirmation and a completion note from your provider select home to navigate back to the scheduling homepage 01:33: If you have questions or need more help please visit the help tab on the left navigation or reach us directly at help@healthyroster.com
Step Three -Step-By-Step Tutorial -How to Schedule an Appointment:
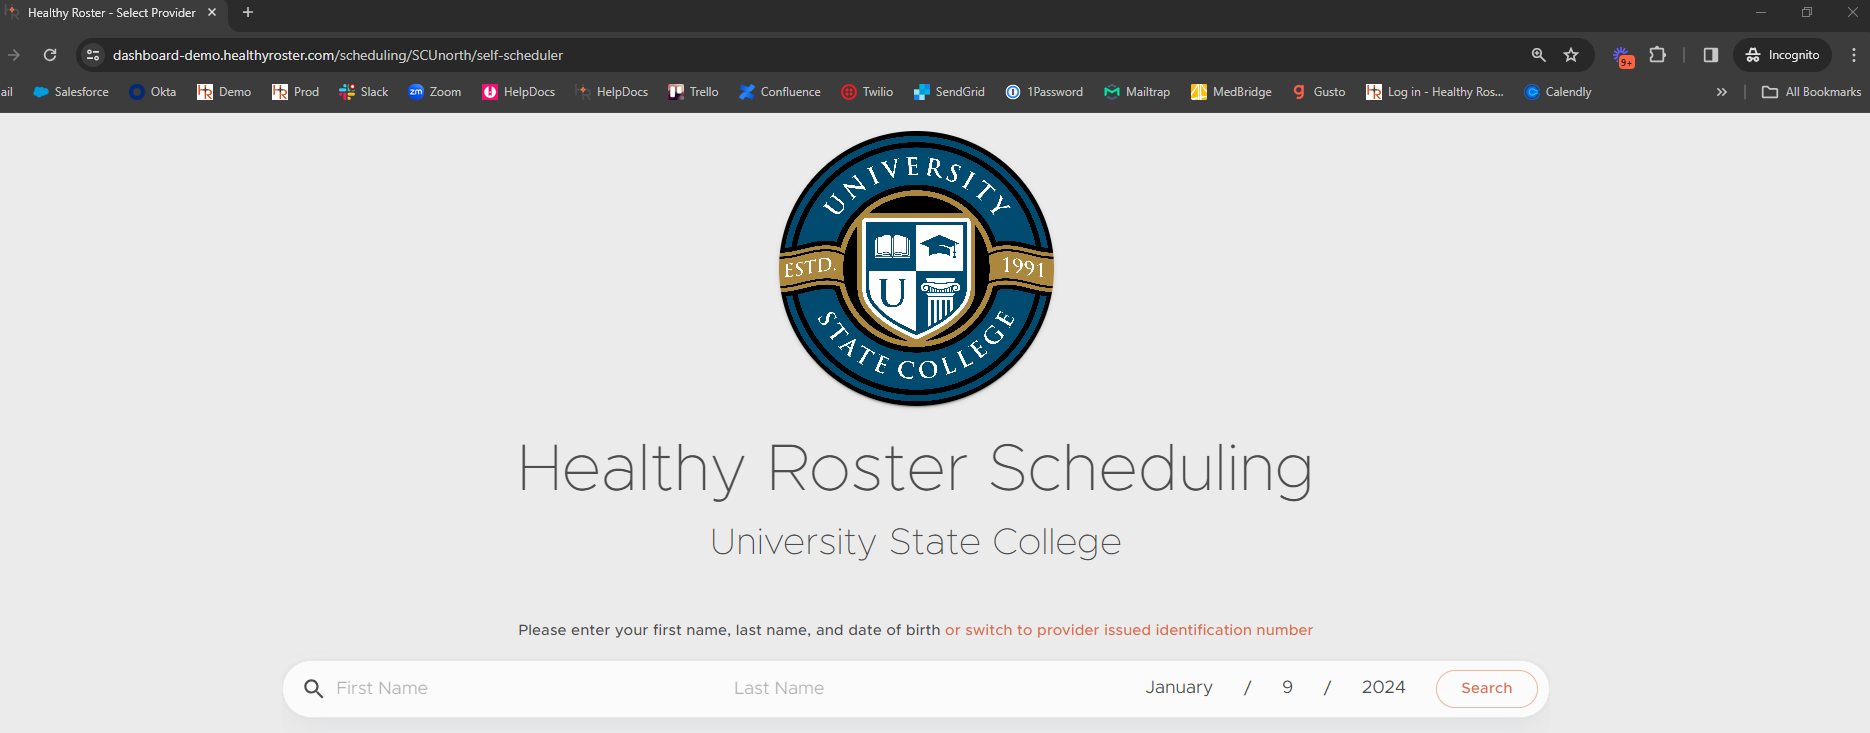
Navigate to the Scheduling webpage
You may be asked to input your First Name, Last Name and DOB, or your Provider Issued Identification Number (Unique ID). This information must match what your provider has input on your patient profile.
Select Search
If there is a profile match, your name will pull below the search bar, select Continue
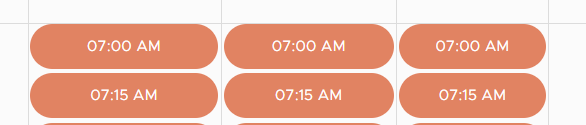
Select the date range for your desired appointment, as well as select your desired provider. The default will be set to "Any Available Provider." If there is more than one provider available, you can select a specific provider if you wish.
Scroll down to view available timeslots
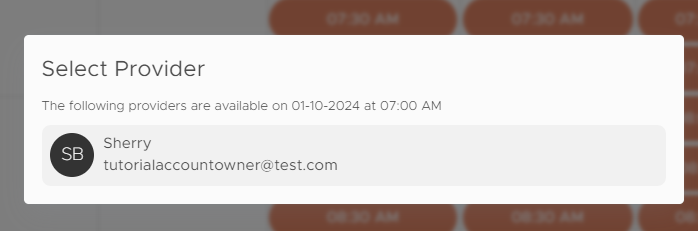
To select a timeslot select it, you will then be required to confirm the time and provider by clicking on the provider
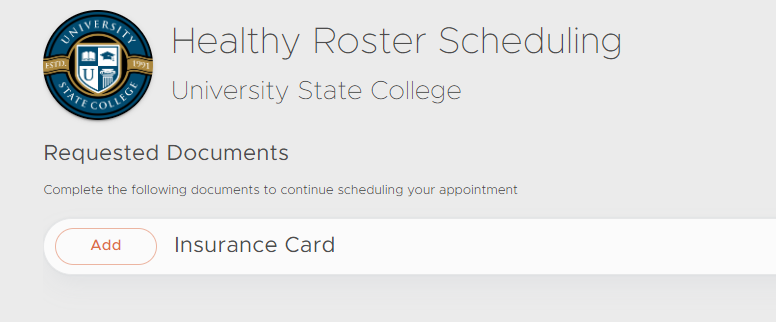
If required documents are requested to complete the scheduling process, complete them accordingly by selecting "add"
Once your documents are complete, select Continue
Input your email and select Finish and Schedule to complete your appointment scheduling.
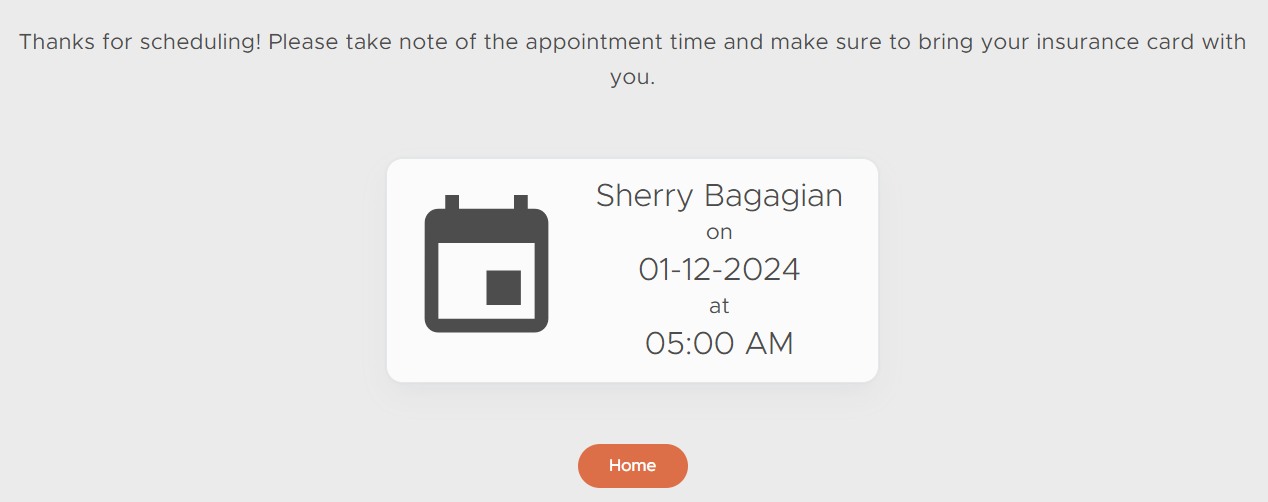
You will then be routed to a confirmation page with an email confirmation of the scheduled appointment. Select Home to navigate back to the scheduling page
Step Four -Video Tutorial - Self-Scheduling: Provider Review of Scheduled Encounter
00:00: Hi this is Nikki from healthy roster in this tutorial we'll walk through reviewing scheduled encounters that were completed via the self-scheduling feature adjustments at the provider might want to make to these scheduled encounters could include associating a problem associating services rendered and adding notes or attachments 00:19: There are three ways you can edit the encounter the first being from the patient's encounters tab the second being from this view here the schedule from the dashboard page you can select the patient to navigate directly to the encounter lastly in the view that I will demo for you is via the schedules tab 00:37: To navigate to the schedules tab from the left navigation select 00:42: Will now be routed to your schedules tab we do recommend following along with our additional training resources to better understand the intricacies of the schedules tab no matter the view though the process will be the same to edit or view a scheduled encounter select the patient's name 00:59: Now edit the details for this encounter as appropriate 01:03: Next answer any background questions that are specific for your account 01:08: Encounters that are created via self-scheduling will automatically be marked as non-problem related 01:14: Uncheck this box if you'd like to associate a problem to this encounter 01:19: To add a new problem select the plus button 01:23: Now you can select to add a new to create a new problem for this patient or link an existing to select from existing problems for this patient 01:32: Now you will want to select the plus button to add the performed services that were provided during this encounter once you select the plus button you will be able to select the encounter options with your account 01:44: Now to add a note select the plus button 01:47: If you'd like you can also at this point add attachments by selecting the attachments plus button 01:53: Once you have edited your encounter information you can select save 01:59: You've now completed the edit to your encounter if you navigate back to your schedules tab once more the agenda view will show you the encounter and the Link services that you've added this page will be helpful to visually show you which encounters have been edited and not 02:14: If you have questions or need more help please visit the help tab on your left navigation or we just directly at help@healthyroster.com
Step Four -Step-By-Step - Self-Scheduling: Provider Review of Scheduled Encounter
Navigate to your schedule tab on the left navigation.
Note: You can also navigate directly from the patients' encounter tab, or if the encounter is not completed from the dashboard schedule
Select the patient to navigate to the encounter
Edit the details of the encounter accordingly
Answers applicable Background Questions that are specific to your account
Encounters that are created via Self Scheduling will automatically be marked as Non Problem Related. To associate a problem, uncheck Non-Problem Related
Select + to add/associate a problem
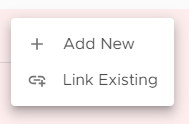
Select to add a new to create a new problem or link an existing to select from existing problems for this patient
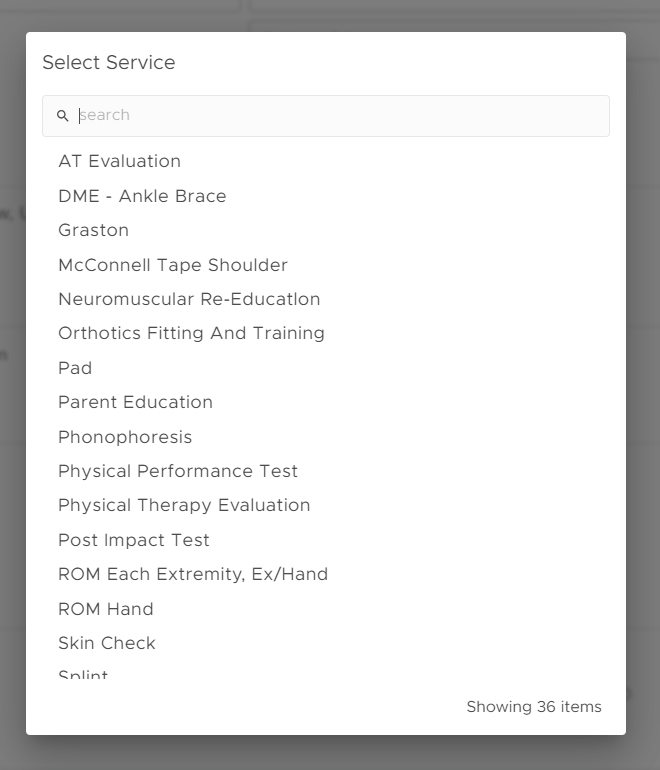
Select + to add performed services for the encounter
 Updated
by
Niki Budd
Updated
by
Niki Budd