Uploading A Document (Web)
 Updated
by
Lindsey Puent
Updated
by
Lindsey Puent
How to Upload a Document on the Web - 2.0
The Healthy Roster platform enables users to upload documents or even scan a document right into their account. In this tutorial, we'll cover how to upload or scan a new document into the website.
Video Tutorial - 2.0
Step-By-Step Tutorial - 2.0
- Navigate to the athlete's profile. This can be done by first navigating to the appropriate Organization and clicking on the athlete that you wish to upload a document for.
- Click on ‘Documents’ from the athlete's left navigation bar.

- Your Missing Documents will populate at the top of the screen. Click on the Document Type you would like to upload a file for. If you do not see the document type listed at the top of the screen, you may click 'Add' in the upper right hand corner.

- Select your Document Type from the drop down menu.
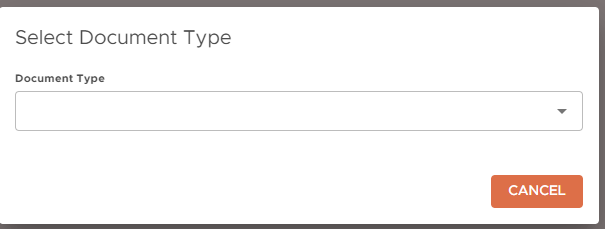
- Select your Document Type from the drop down menu.
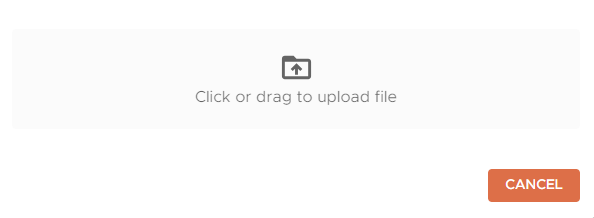
- Click or drag your file into this section to upload a file.
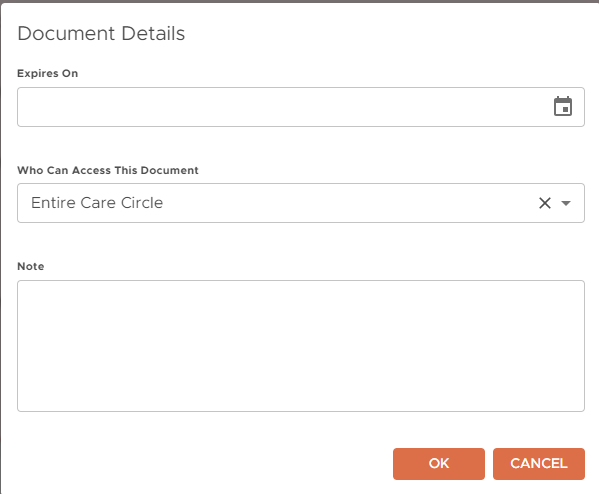
- Edit the Document Details as needed. This can include an expiration date, who can access this document, and any notes you may want regarding the document. Select OK to save/submit your document type.
How to Upload a Document on the Web - Legacy
The Healthy Roster platform enables users to upload documents or even scan a document right into their account. In this tutorial, we'll cover how to upload or scan a new document into the website.
Video Tutorial - Legacy
Step-By-Step Tutorial - Legacy
- Scroll down on the home page to view athletes
- Click on the athlete you wish to upload a document for.
- Click on ‘Documents’

- Your Missing Documents will populate at the top of the screen. Click on the Document Type you would like to upload a file for. Then, click ‘Select File’.
- You can also hover over the blue paper icon and click ‘Upload A File’.

- You can also hover over the blue paper icon and click ‘Upload A File’.
- Select the appropriate file from your computer and click ‘Add Attachment’. The file will then be uploaded.