Scanning Documents (App)
 Updated
by
Lindsey Puent
Updated
by
Lindsey Puent
How to Upload/Scan a Document
The Healthy Roster platform enables users to upload documents or even scan a document right into their account. In this tutorial, we'll cover how to upload or scan a new document into the website using your mobile device.
Video Tutorial
Step-By-Step Tutorial - Scanning a Required (Missing) Document
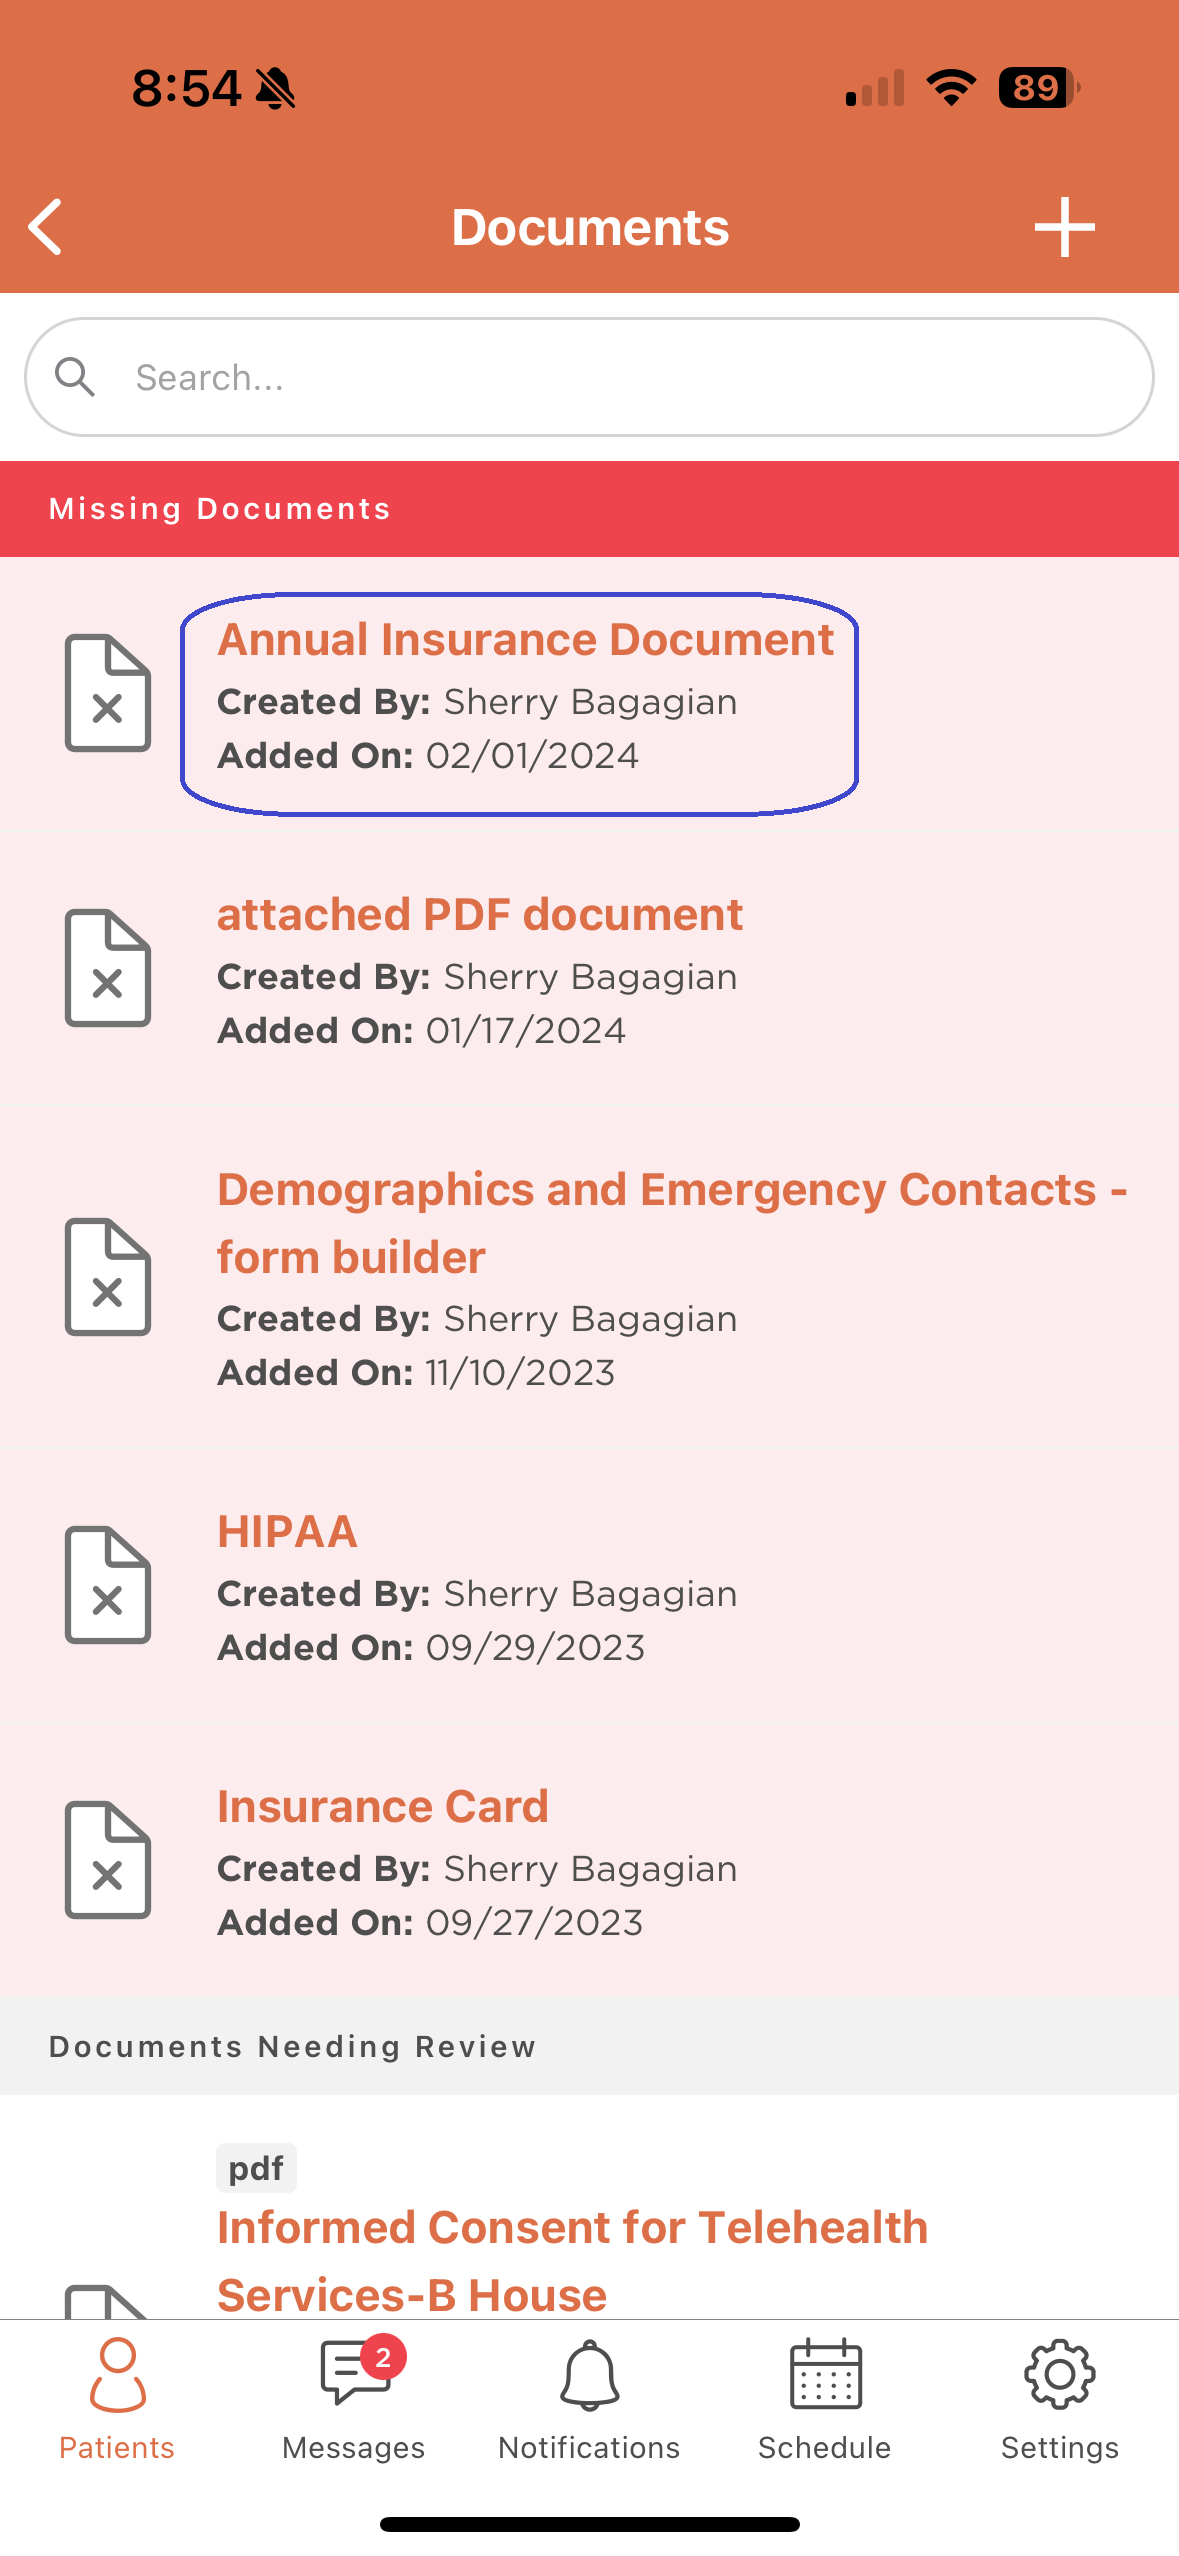
- Within the Healthy Roster app, go to your patient profile and click on the Documents Tab
- Tap a document from the Missing Documents section that you're ready to scan and upload.
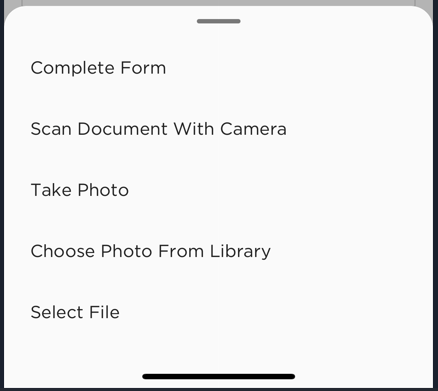
- Choose from the list of options to upload your document to Healthy Roster. The 'Scan Document With Camera' will be the best option for taking an image of your document and uploading it to the athlete profile.

- Note: the option to 'Complete Form' will only appear on the list if the document has a fillable form attached.
- Scan Document With Camera will launch your camera. If it's the first time using this feature, it will ask to allow permission to access your camera; you will want to Accept that. Frame the camera around the form that you're trying to scan and click on the shutter button circle at the bottom. You may take images of multiple pages when choosing this option.
- The completed images will appear in the bottom left hand corner - you'll then have the option to retake the image from this screen. Click Save when done scanning.
- The file will then upload and save to the patient profile. You'll know when it's done if the document is no longer in the Missing Documents section, or if you see the document listed in Uploaded Documents.
Scanning a Document for Upload (Not in Missing/Required Documents)
- 1. If you need to upload a Doctor's note or another document that isn't listed under your Required Documents section, click on the + symbol in the top right corner of the documents section.

- Select the appropriate Document Type from the drop down menu. Alternatively, you may choose "Other" and then enter a File Name for the document.
- Edit Privacy Settings, Expiration Date, and Description (if applicable) and then select "Next."
- Choose Scan Document With Camera, frame the document you are trying to scan and take the photo.
- After taking the photo you'll have the option to retake the image, add a second page, or click Save when done scanning. Choose whichever one you need. The file will then upload and process.
- Once the document is uploaded, you'll have the opportunity to pick who can see the uploaded document. Choose custom if you want to limit some people from seeing the document. After you're satisfied with the settings, click on Save from the top right corner.